Microduino W5500 Network (5)
PurposeThe course will show you how to turn your Microduino to a server, enabling you to browse it at home. Equipment
World Wide WebWebpage is consisted of HTML markup language, which adopts mark to describe web content. The main advantage of using HTTP protocol to communicate with Microduino online is:
Schematic
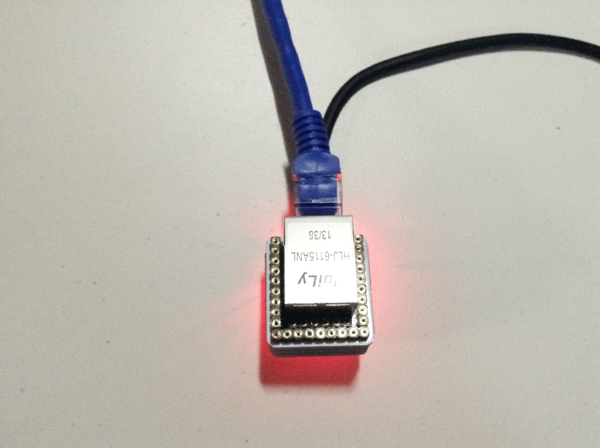
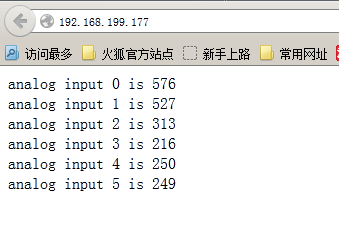
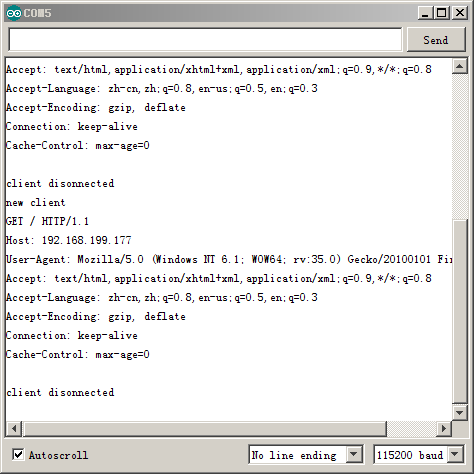
Stack them and plug in cable. As follows: ProgramDebuggingStep 1: First, make sure you have _02_Microduino_Ethernet_WIZ library in your IDE and put it into libraries folder of your IDE. Step 2: If there still exists the previous Ethernet library in your libraries folder, it needs to be deleted since the previous Ethernet is compiled according to W5100. Then, you need to change _02_Microduino_Ethernet_WIZ file so that the library function could be corresponding with Microduino-W5500: First find w5100.h of utility in _02_Microduino_Ethernet_WIZ library. Change #define wiz_cs_pin 8 //CS_PIN of the code to #define wiz_cs_pin 10 //CS_PIN. Step 3: Interpret the code: The program will first monitor if service is visited. while (client.connected()) { If yes, it will send analog values of 0~5 to client analog port: // send a standard http response header
client.println("HTTP/1.1 200 OK");
client.println("Content-Type: text/html");
client.println("Connection: close"); // the connection will be closed after completion of the response
client.println("Refresh: 5"); // refresh the page automatically every 5 sec
client.println();
client.println("<!DOCTYPE HTML>");
client.println("<html>");
// output the value of each analog input pin
for (int analogChannel = 0; analogChannel < 6; analogChannel++) {
int sensorReading = analogRead(analogChannel);
client.print("analog input ");
client.print(analogChannel);
client.print(" is ");
client.print(sensorReading);
client.println("
Step 4: Download code and compile. Step 5: Check your IP address via serial port and enter corresponding IP address of Microduino in the browser. ResultThe result should be: Serial port cut figure as follows: Video |


