Microduino W5500 Network (1)
PurposeThis course will show you how to have a Ping connection with Microduino-W5500. Equipment
Schematic
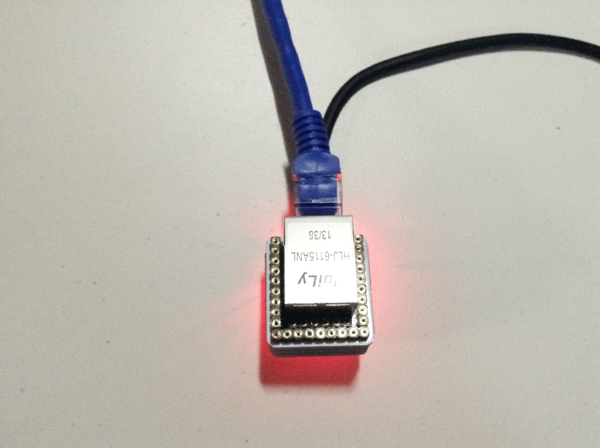
Stack them and then plug in network cable. Just as follows: Pin picture of Microduino W5500:
ProgramDebuggingStep 1:First, make sure you have _02_Microduino_Ethernet_WIZ library in your IDE and put it into libraries folder of your IDE. Step 2: If there is previous Ethernet in the library folder of IDE, you need to delete it since the previous Ethernet is compiled according to W5100 protocol. Then, you need to change _02_Microduino_Ethernet_WIZ file to make library functions corresponding with Microduino in pin. Find w5100.h in utility folder in _02_Microduino_Ethernet_WIZ library. Change #define wiz_cs_pin 8 //CS_PIN of the code to #define wiz_cs_pin 10 //CS_PIN. Step 3: Explain the code: Define the IP address and port: // Enter a MAC address and IP address for your controller below.
// The IP address will be dependent on your local network.
// gateway and subnet are optional:
byte mac[] = {0xDE, 0xAD, 0xBE, 0xEF, 0xFE, 0xED};
IPAddress ip(192,168,1, 177);
IPAddress gateway(192,168,1, 1);
IPAddress subnet(255, 255, 255, 0);
// telnet defaults to port 23
EthernetServer server(23);
boolean alreadyConnected = false; // whether or not the client was connected previously
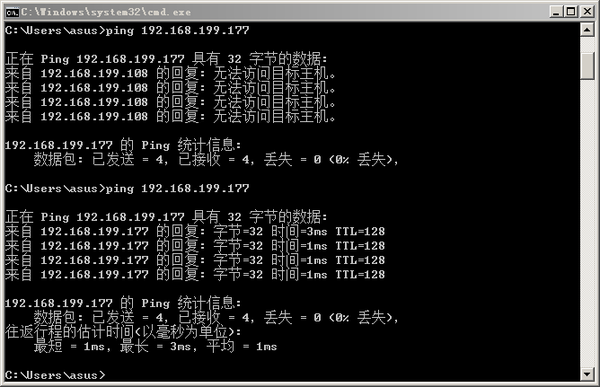
We start service of 23 port in the code and point to a specified IP address. // initialize the ethernet device Ethernet.begin(mac, ip, gateway); Start service Step 4: Download the code and pass the compiling. Step 5: Ping connection! The simplest way to have a ping connection of W5500 is to check if it is networked correctly. Enter Ping in the computer and check the IP address of the device. ResultWhen it is showed as the picture above, it means “connected to network”. Video |

