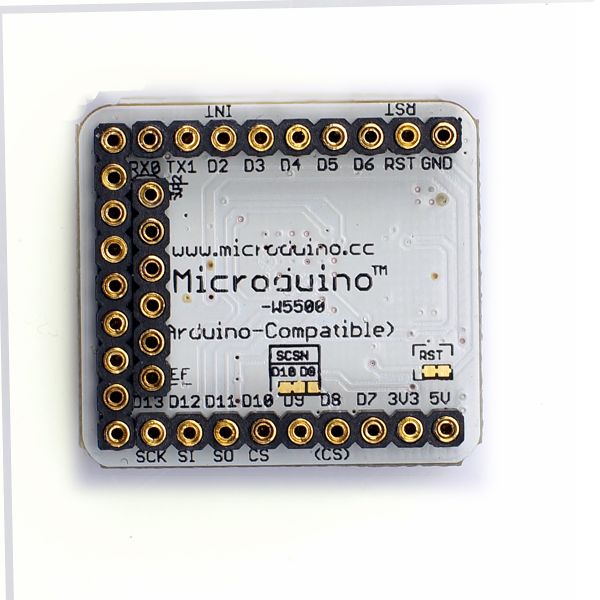
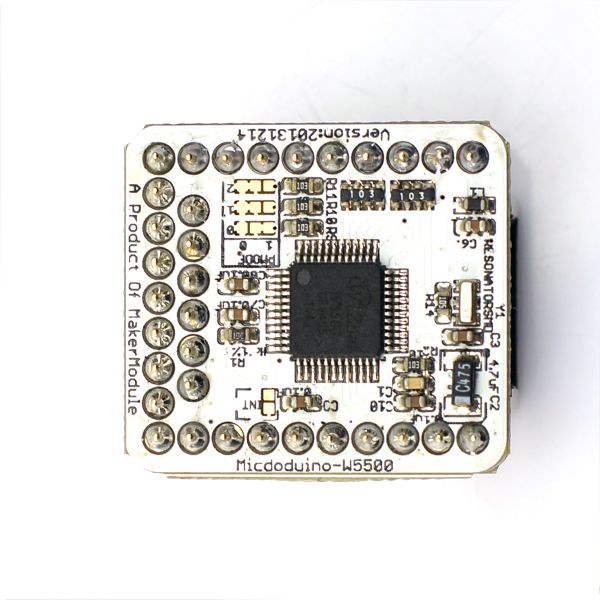
Microduino-W5500
Pkj(讨论 | 贡献)2014年5月29日 (四) 08:45的版本 (Created page with "800px|thumb|center|Microduino-W5500 ==Documents== *Eagle PCB '''File:Microduino-W5500.zip''' ==Development== Arduino libraries and su...")
文件:Microduino-W5500-pin-2.jpg
Microduino-W5500
Documents
- Eagle PCB 文件:Microduino-W5500.zip
Development
Arduino libraries and support packages: https://github.com/Microduino/Microduino_Tutorials/tree/master/Microduino_Libraries/_02_Microduino_Ethernet_WIZ
Widely applied in:
Home network device: STB,PVR and digital media adapter? Security system: DVR,IPC and kiosk
Factory and building automation systems, medical monitoring equipment and embedded server
Application
Networking Microduino core modules via sample programs:
Preparation
- All hardware needed: Microduino FT232R, Microduino Core, Microduino-W5500, router and network cable;
- All software needed:Higher version of Arduino IDE (1.0), libraries, debugging programs offered by Microduino (Arduino);
- Put the downloaded libraries into the folder of Arduino IDE installation libraries;
- Delete the previous Ethernet libraries;
- Stack all modules together and connect the LAN port and the network interface of Microduino-RJ45 module via internet cable;
Step 1:Acquire your IP address
- Start Arduino IDE, open sample program "DhcpAddressPrinter" and choose Microduino Core(Atmega328P@16M,5V) as the board; Download after successful compiling;
- Open serial monitor(Please note that the baud rate is 9,600 bits ), you can see "My IP address: XXX.XXX.XX.XXX." Then you can get your IP.
Step 2:Connect Microduino core modules through network and acquire web page information
- Open sample program"WebClient" and change the code address "IPAddress ip(192,168,0,177)" to the IP address that can readable, and then download after successful compiling.
- Open serial monitor after successful download, you can see "connecting...". If the connection goes well, you can print out the data acquired from network, such as
address, server, time and so on.
Purchase
History
Picture
Front
Back
Video
|}

