“MCookie-Audio”的版本间的差异
853387039@qq.com(讨论 | 贡献) (→Document) |
853387039@qq.com(讨论 | 贡献) (→Pictures) |
||
| (未显示同一用户的3个中间版本) | |||
| 第37行: | 第37行: | ||
===Copy music to Audio shield === | ===Copy music to Audio shield === | ||
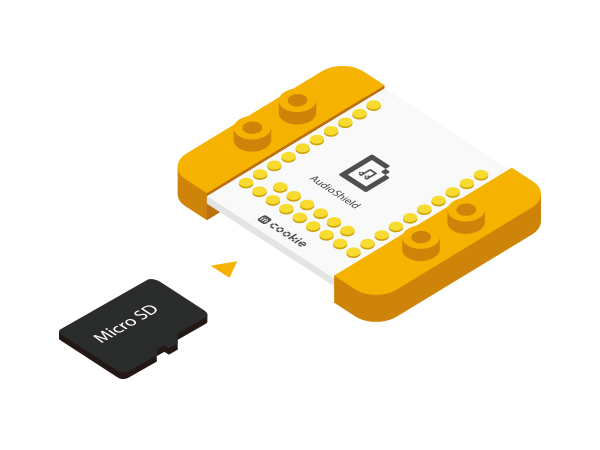
*Insert memory card into Audio shield | *Insert memory card into Audio shield | ||
| − | [[file: | + | [[file:_MusicBox_Joystick _TF.jpg|600px|center]] |
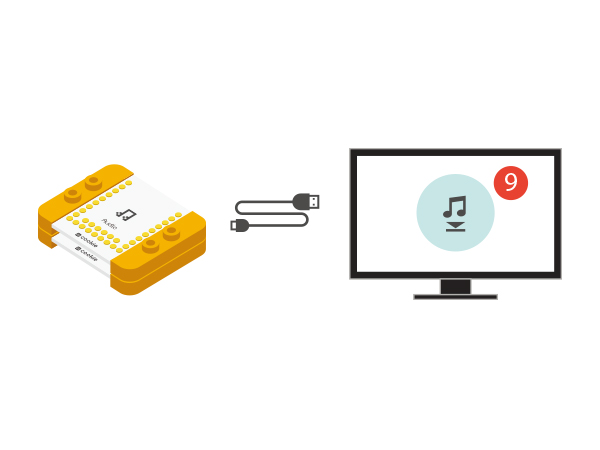
*Stack Audio shield and Audio and connect them to your computer via a USB cable. And you'll see a disk on the computer. | *Stack Audio shield and Audio and connect them to your computer via a USB cable. And you'll see a disk on the computer. | ||
| − | [[ | + | [[File: _MusicBox_Joystick _song.jpg|600px|center]] |
*Copy songs to the disk. | *Copy songs to the disk. | ||
| 第63行: | 第63行: | ||
*Insert TF card to Audio Sheild slot. | *Insert TF card to Audio Sheild slot. | ||
| − | |||
*Stack AudioSheild and Audio, connect the Audio to your computer, and then you can save songs to TF card. Here we can save nine songs. | *Stack AudioSheild and Audio, connect the Audio to your computer, and then you can save songs to TF card. Here we can save nine songs. | ||
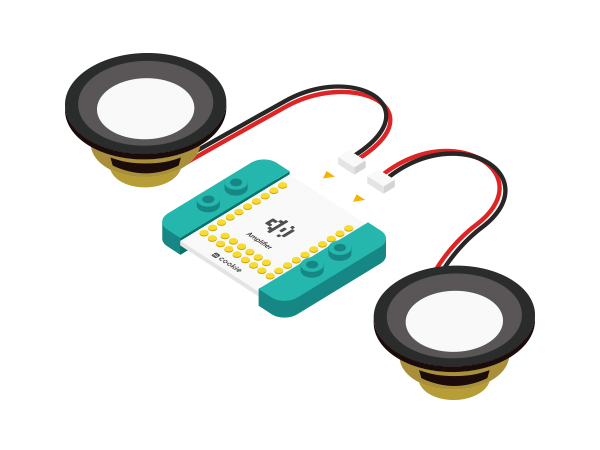
*Connect loudspeaker to the interface of Amplifier. | *Connect loudspeaker to the interface of Amplifier. | ||
| − | [[file: | + | [[file: MusicBox_Joystick _song_speak.JPG|600px|center]] |
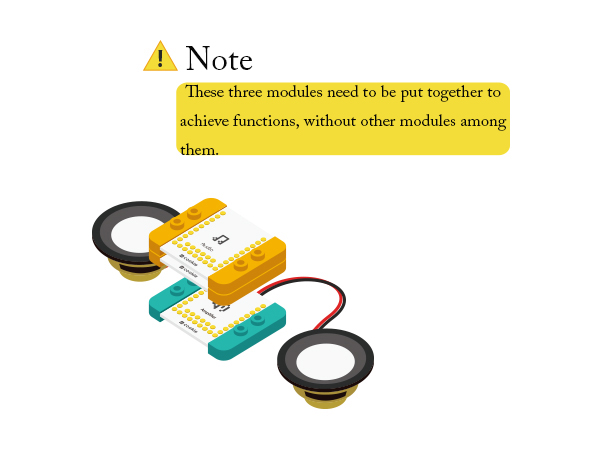
*Stack Amplifier, Audio and AudioSheild. (Only these three modules need to be connected together. Not for the other modules.) | *Stack Amplifier, Audio and AudioSheild. (Only these three modules need to be connected together. Not for the other modules.) | ||
| − | [[file: | + | [[file: MusicBox_Joystick _3_speak.JPG|600px|center]] |
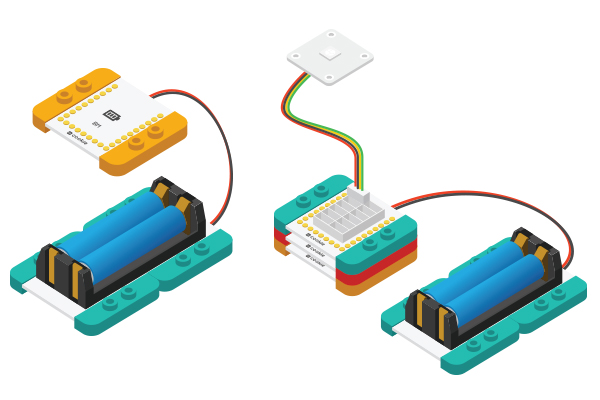
*Connect the battery pack to the BM module. | *Connect the battery pack to the BM module. | ||
| − | [[ | + | [[File:CoreUSB_Ble_steup2.jpg|600px|center]] |
*Stack the other modules and connect them to BM shield. Then you can system power supply. | *Stack the other modules and connect them to BM shield. Then you can system power supply. | ||
**'''Audio must be powered through BM and it cannot powered by computer via CoreUSB, otherwise, it may cause system breakdown. | **'''Audio must be powered through BM and it cannot powered by computer via CoreUSB, otherwise, it may cause system breakdown. | ||
| − | + | ||
*Operation Description: | *Operation Description: | ||
[[file:mCookie-Audio-steup3.JPG|thumb|400px|center]] | [[file:mCookie-Audio-steup3.JPG|thumb|400px|center]] | ||
| 第97行: | 第96行: | ||
[[file:mCookie-Audio-KEY-SD2.JPG|thumb|600px|center|Audio&&shield-SD]] | [[file:mCookie-Audio-KEY-SD2.JPG|thumb|600px|center|Audio&&shield-SD]] | ||
[[file:mCookie-Audio-KEY-SD3.JPG|thumb|600px|center|Audio&&shield-SD]] | [[file:mCookie-Audio-KEY-SD3.JPG|thumb|600px|center|Audio&&shield-SD]] | ||
| − | |||
| − | |||
==Video== | ==Video== | ||
|} | |} | ||
2015年10月26日 (一) 11:32的最新版本
| Language | English |
|---|
|
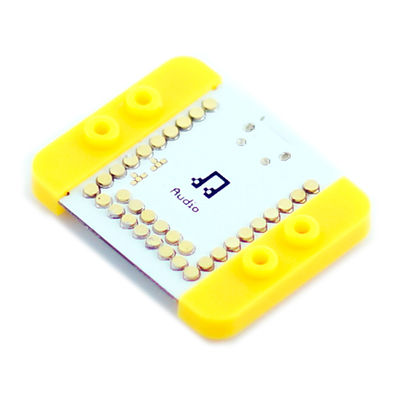
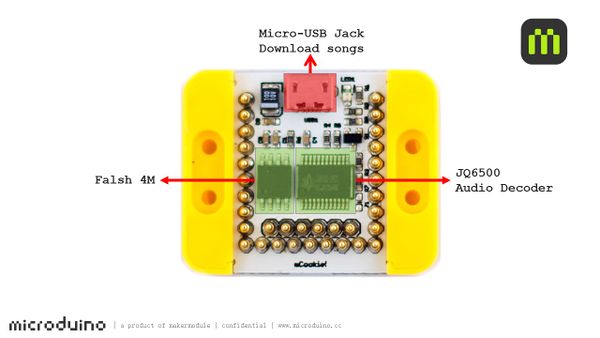
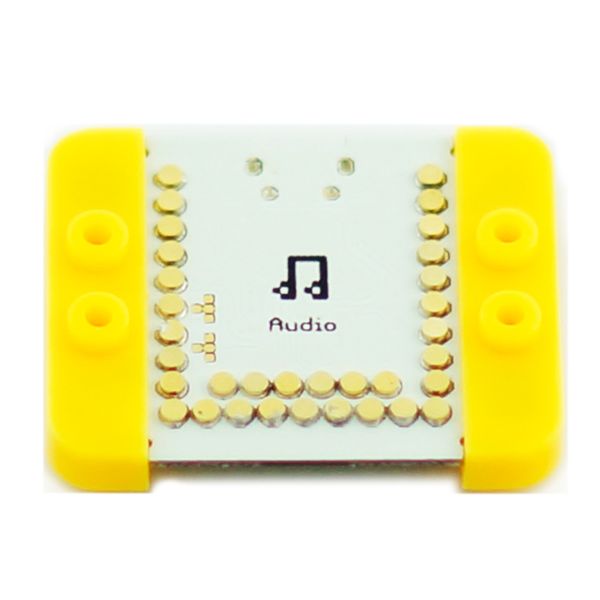
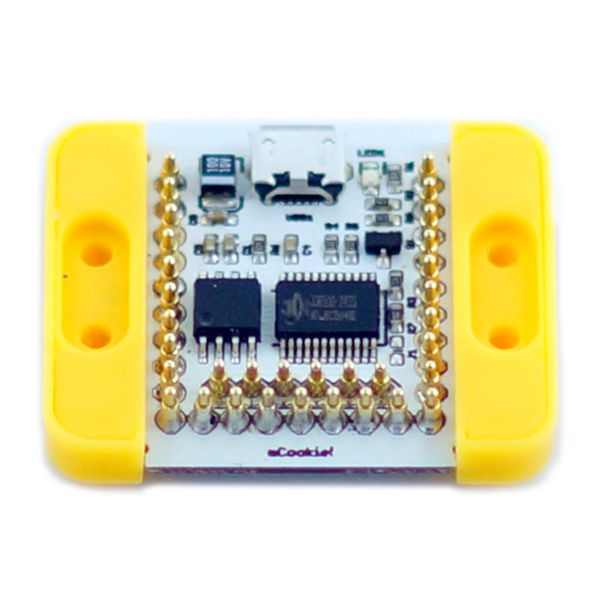
mCookie-Audio is an audio play module with serial communication. It uses memory card to save songs to Audio Shield and amplifies sound together with mCookie-Amplifier. Audio and Audio shield stacked can be stacked to computer and serves as a card reader, which can be used for file transmission.
目录Features
Specification
DocumentJQ6500 audio chip description: 文件:JQ6500.pdf
DevelopmentCopy music to Audio shield
Dial Wheel Button Control
Program description: " arduino.h " is audio file control, responsible for sending control instruction to Audio module. 1. Under default serial port, you can select communication serial port from " arduino.h " based on the core modules you use. //#define AUDIO_PORT Serial1
#define AUDIO_PORT mySerial
2. Initialize Audio module and select play mode. #define MODE_loopAll 0 //Loop all the time
#define MODE_loopOne 1 //Loop once
#define MODE_One_STOP 2 //Single cycle
#define MODE_One_END 4 //Play once
ProjectsIt can be widely used in all kinds of voice broadcast:
PurchaseHistoryPicturesVideo |
