“Music Box(Joystick)”的版本间的差异
(→Hardware Buildup) |
(→Software Debuge) |
||
| (未显示2个用户的4个中间版本) | |||
| 第4行: | 第4行: | ||
| | | | ||
==Overview== | ==Overview== | ||
| − | Build a music box | + | Build a music box here! You can play the music files in the TF card, select the song with Joystic rocker and change volume. |
| + | [[File: MusicBox_Joystick.jpg|600px|center]] | ||
| − | |||
| − | |||
==Schematic== | ==Schematic== | ||
| − | + | By reading the analog value, you can detect and judgeg the Joystic's movement in the X-Y direction.At the same time, you can choose the control mode according to the stay time. | |
| − | |||
[[File: MusicBox_Joystick-sch_E.jpg|600px|center]] | [[File: MusicBox_Joystick-sch_E.jpg|600px|center]] | ||
| 第52行: | 第50行: | ||
[[File: _MusicBox_Joystick _ino-ok.jpg|600px|center]] | [[File: _MusicBox_Joystick _ino-ok.jpg|600px|center]] | ||
| − | ==Software | + | ==Software Debugging== |
*” audio.h” Audio lib file | *” audio.h” Audio lib file | ||
| − | *Audio module Serial | + | *Audio module Serial uses D2, D3 |
<source lang="cpp"> | <source lang="cpp"> | ||
#include <SoftwareSerial.h> | #include <SoftwareSerial.h> | ||
| 第64行: | 第62行: | ||
*Detection rocker value | *Detection rocker value | ||
<source lang="cpp"> | <source lang="cpp"> | ||
| − | int uiStep() // | + | int uiStep() //Change songs |
{ | { | ||
if (analogRead(A0) < 100) //Y-up | if (analogRead(A0) < 100) //Y-up | ||
| 第82行: | 第80行: | ||
delay(50); //50 ms delay | delay(50); //50 ms delay | ||
if (analogRead(A1) > 900) // | if (analogRead(A1) > 900) // | ||
| − | return 3; // | + | return 3; //Return to 3 |
} | } | ||
return 0; | return 0; | ||
| 第88行: | 第86行: | ||
</source> | </source> | ||
| − | *OLED | + | *OLED displays interface and user can change it. |
<source lang="cpp"> | <source lang="cpp"> | ||
| − | //The main interface | + | //The main interface can be freely changed. |
void draw() | void draw() | ||
{ | { | ||
| 第143行: | 第141行: | ||
==How to Operate== | ==How to Operate== | ||
| − | [[file: MusicBox_Joystick _caozuo.JPG|600px|center]] | + | [[file: MusicBox_Joystick _caozuo-E.JPG|600px|center]] |
| + | |||
==Result== | ==Result== | ||
Control music playback, pause and change songs by using Joystick. You can also build a nice look LEGO Shell. | Control music playback, pause and change songs by using Joystick. You can also build a nice look LEGO Shell. | ||
2015年10月30日 (五) 02:16的最新版本
| Language | English |
|---|
目录OverviewBuild a music box here! You can play the music files in the TF card, select the song with Joystic rocker and change volume. SchematicBy reading the analog value, you can detect and judgeg the Joystic's movement in the X-Y direction.At the same time, you can choose the control mode according to the stay time. Equipment
Code
Arduino IDE.
appears, the program should have successfully been uplloaded into the CoreUSB. Software Debugging
#include <SoftwareSerial.h>

SoftwareSerial mySerial(2, 3); // RX, TX

#define AUDIO_PORT mySerial
int uiStep()         //Change songs
{
  if (analogRead(A0) < 100)  //Y-up
  {
    delay(50);       //50 ms delay
    if (analogRead(A0) < 100)      //
      return 1;      //return 1
  }
  if (analogRead(A1) < 100)    //
  {
    delay(50);       //50 ms delay
    if (analogRead(A1) < 100)  //X-Right
      return 2;      //return 2
  }
  if (analogRead(A1) > 900)    //X-Left
  {
    delay(50);       //50 ms delay
    if (analogRead(A1) > 900)  //
      return 3;      //Return to 3
  }
  return 0;
}
 //The main interface can be freely changed.
void draw()
{
  setFont_L;

  u8g.setPrintPos(4, 16);
  u8g.print("Music_sta:");
  u8g.print(music_status ? "play" : "pause");

  u8g.setPrintPos(4, 16 * 2);
  u8g.print("Music_vol:");
  u8g.print(music_vol);
  u8g.print("/30");
  u8g.setPrintPos(4, 16 * 3);
  u8g.print("Music_num:");
  u8g.print(music_num);
  u8g.print("/");
  u8g.print(music_num_MAX);
  u8g.setPrintPos(4, 16 * 4);
  u8g.print("....Microduino....");
  //u8g.print(rtc.formatTime(RTCC_TIME_HMS));
}
Hardware Buildup
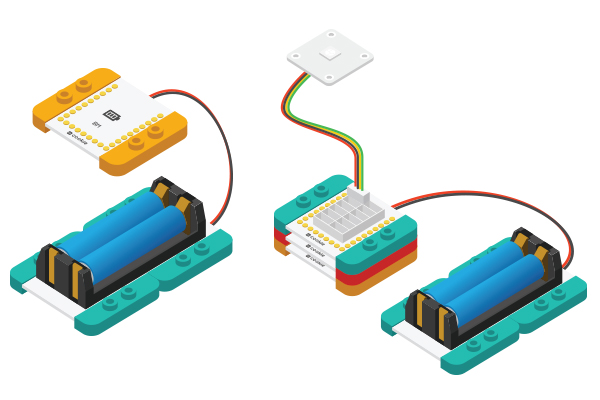
corrensponding ports on the Hub module.
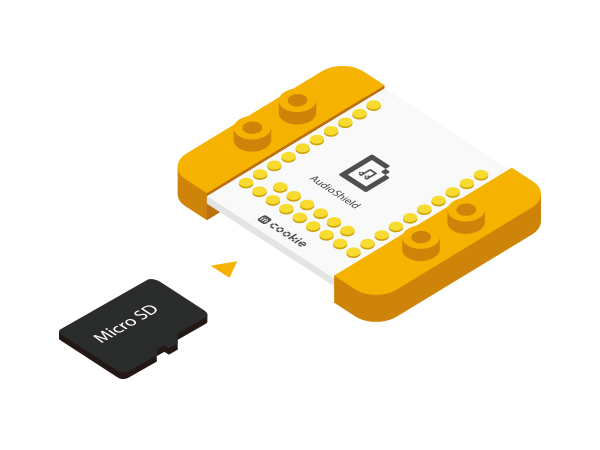
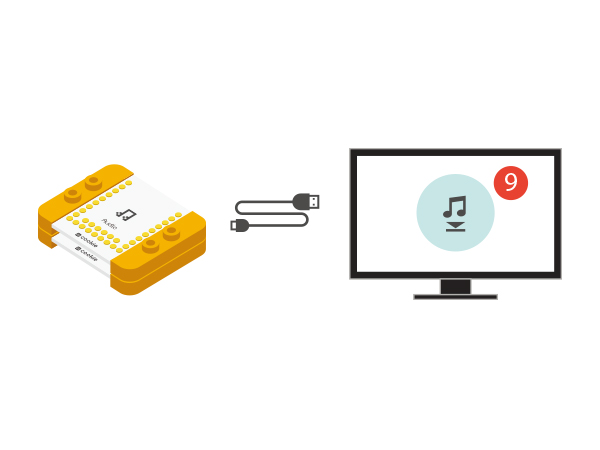
card may be able to store many songs, the program we provide only supports up to 9 songs.
module.
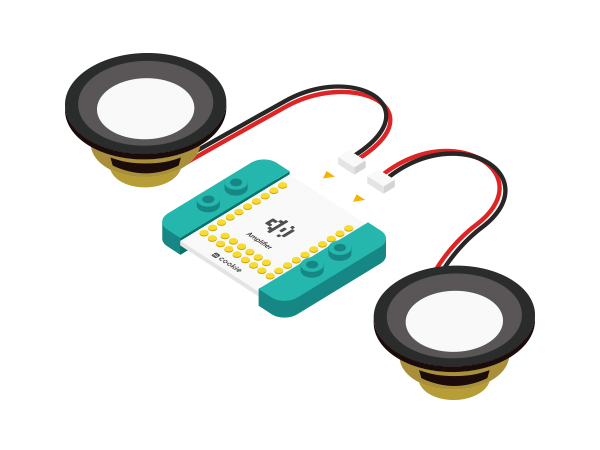
Audio modules, They must be together). Congratulations, you have finished building the circuit! How to OperateResultControl music playback, pause and change songs by using Joystick. You can also build a nice look LEGO Shell. Video |


