|
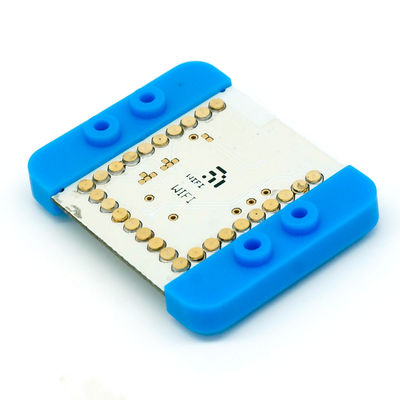
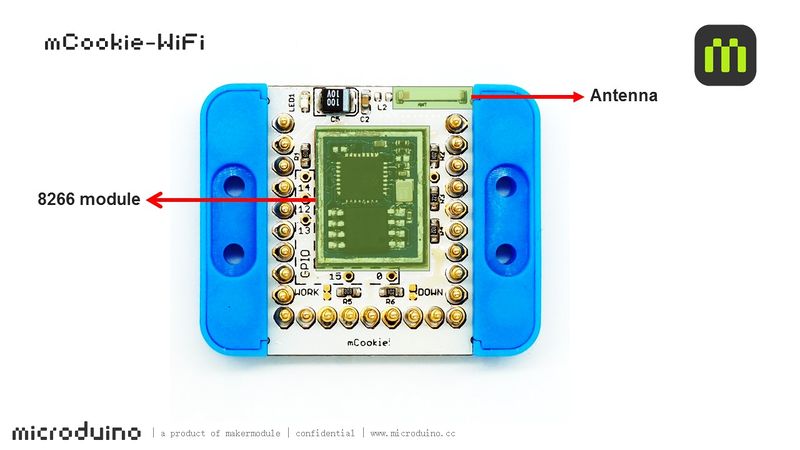
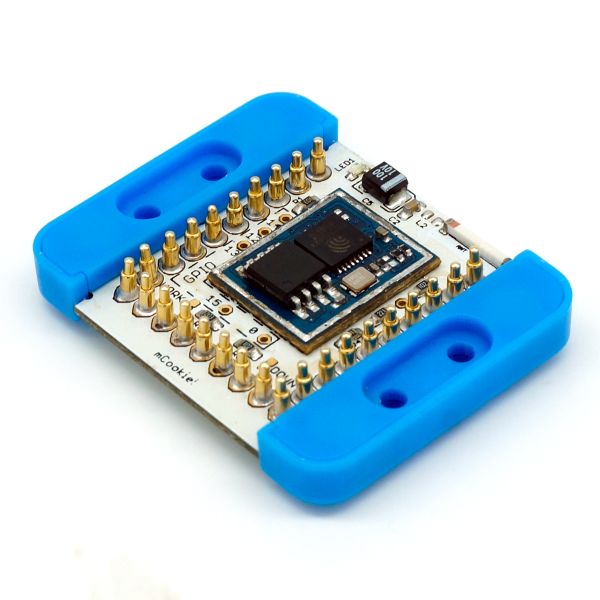
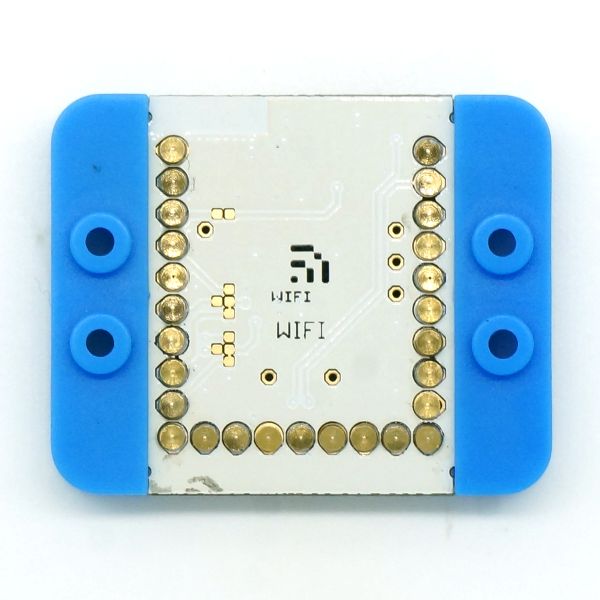
mCookie-WiFi is WIFI communication module, which can connect other WIFI devices and communicate with CoreUSB via serial port.
Features
- Serial communication;
- Available for the internet;
- Small, stackable, open-source and cheap;
Specification
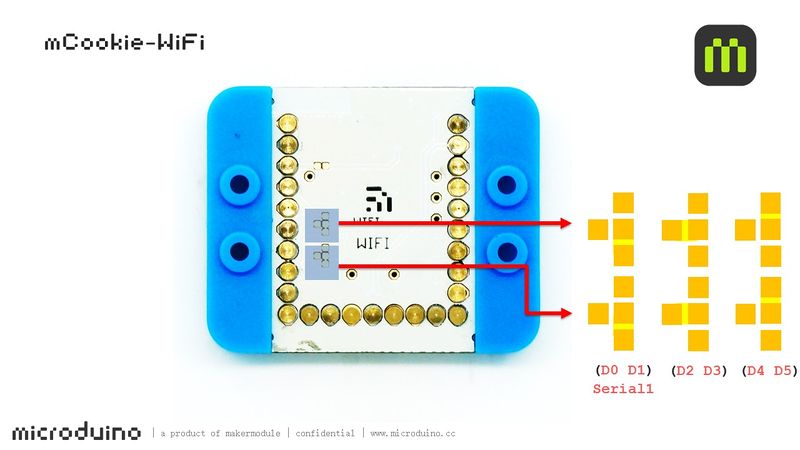
- Way of communication: Serial port transmission with the default serial port D2(RX)、D3(TX);
- Power supply: +3.3VDC 50mA; ;
- Status indicator;
Common AT Instruction
- All AT instructions are ended with "\r\n ".
- Common AT instruction:
- AT+RST Restart modules
- AT+GMR Check version info.
- AT+CWMODE=3 Station & access point
- 1 Station mode
- 2 AP mode
- 3 AP & Station
- AT+CWSMARTSTART=0 Start smart connection
- 0: Use AL-LINK
- 1: Use ESP-TOUCH
***2: Use AIR-KISS
- AT+CWSMARTSTOP Stop smart connection
- AT+CWJAP="<access_point_name>","<password>" Add to a certain WIFI
- AT+CIFSR Display WIFI information
- AT+CIPSTATUS Acquire connection status
- AT+CIPSTART=4,"TCP","baidu.com",80 Establish TCP/UDP connection
- AT+CIPCLOSE Shut off TCP/UDP connection (Single connection)
- AT+CIPCLOSE=5 Close multi-connection
- AT+CIPMUX=1 Start multi-connection
Document
Support AT instruction configuration/contro:
文件:ESP8266 WiFi Module Quick Start Guide v 1.0.4.pdf
Development
文件:ESP8266TestV1.zip
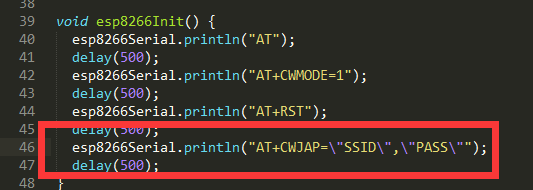
Change your WIFI password in the code where there are SSID(WIFI name) and password setting.
- Download program
- Stacke mCookie-WiFi and mCookie-CoreUSB, plug USB cable into mCookie-CoreUSB on one side and connect computer USB socket on the other side. Then, start Arduino IDE, copy the program above to IDE, select Microduino-CoreUSB in (tools) -> (Board) and choose the right serial number in (tools) -> (Serial). After that, please click button (√) on the top left of IDE and compile the program. Burn the program to the board after compiling by clicking button (->);
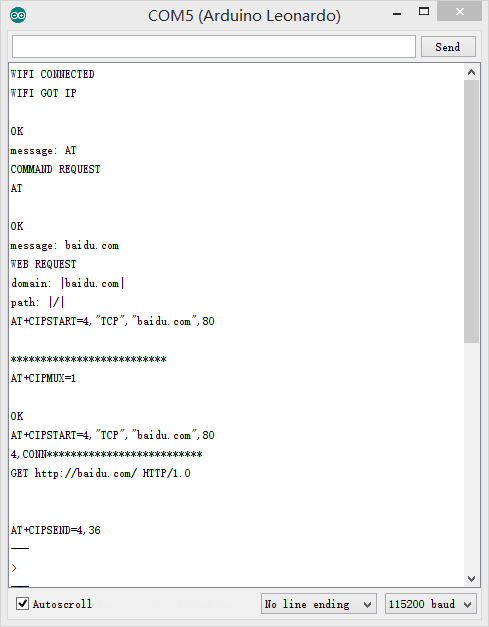
- Open serial monitor and set "\r\n " and "115200 baud "
- The notice of successful WIFI connection will pop up at first.
- Enter AT instruction in the serial port and it will return "OK".
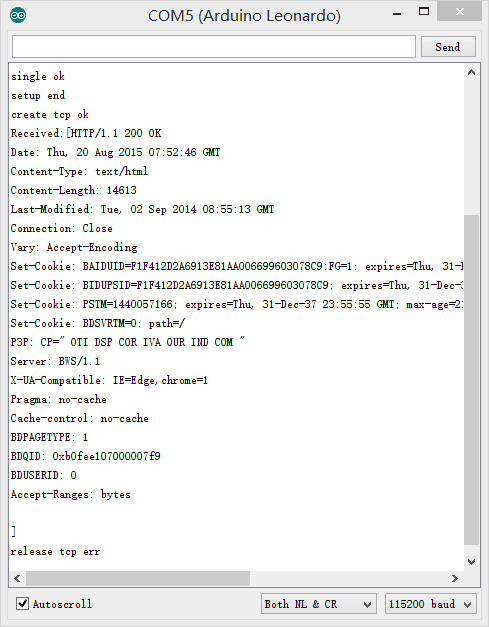
- Enter website such as baidu.com in the serial port and it will return webpage data.
- Enter fixed instructions in the serial monitor and you'll see returned result, which can refer to common AT Instruction part.
Such as:
- AT+GMR
- AT+CIFSR
- AT+CIPSTATUS
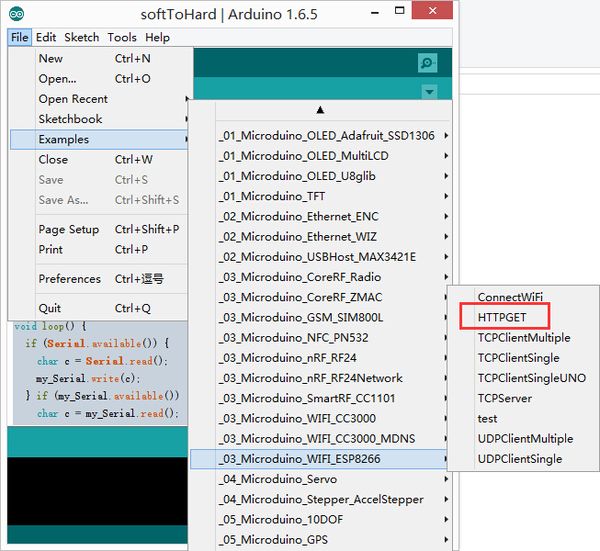
You can adopt HTTPGET program of _03_microduino_WiFi_ESP8266 from Microduino IDE example for testing.
Change your WIFI password in the code where there are SSID(WIFI name) and password setting.
- Download program
- Stack Microduino-WiFi(ESP) with Microduino-Core+ and Microduino-USBttl, plug USB cable into mCookie-CoreUSB on one side and connect computer USB socket on the other side. Then, start Arduino IDE, copy the program above to IDE, select Microduino-CoreUSB in (tools) -> (Board) and choose the right serial number in (tools) -> (Serial). After that, please click button (√) on the top left of IDE and compile the program. Burn the program to the board after compiliing by clicking button (->)
- Open serial monitor and set "\r\n " and "115200 baud "
- Firstly, you'll see notice of successful WIFI connection.
- If you see content description, it means you have visited "www.baidu.com".
Project
Related Projects:
WiFi Weatherstation
F&Q
Picture
|
