Lesson 7--Microduino Drive servo (no library)
| Language | English |
|---|
=ObjectiveThis lesson will teach you to derive servo by Microduino without library. Equipment
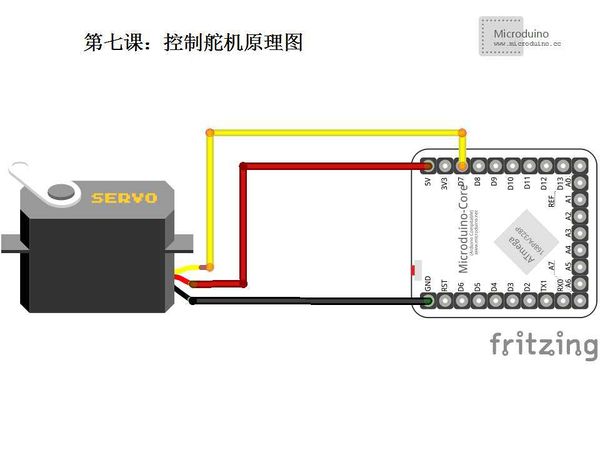
SchematicProgramDownload program: https://github.com/Microduino/Microduino_Tutorials/tree/master/Microduino_Advanced/MicroduinoServoWithoutLibrary int sp1=7;//Define the servo port pin
int pulsewidth;//Define the pulse width
int val;
int val1;
int myangle1;
//servopulse function
void servopulse(int sp1,int val1)//Define a pulse function
{
myangle1=map(val1,0,180,500,2480);
digitalWrite(sp1,HIGH);//Set the servo port to high
delayMicroseconds(myangle1);//Delay time
digitalWrite(sp1,LOW);//Set the servo port to low
delay(20-val1/1000);
}
void setup()
{
pinMode(sp1,OUTPUT);//Set the servo port as output
//Set the baud rate
Serial.begin(9600);
delay(500);
Serial.println("servu=o_seral_simple ready" ) ;
}
void loop()//Map the number 0 to 9 as the Angle of 0 to 180, and let LED flashing the corresponding number
{
val=Serial.read();//Read the serial port value
if(val>'0'&&val<='9')
{
val1=val-'0';//Get the pure number
val1=map(val1,0,9,0,180);//Convert angle to pulse width value of 500-2480
Serial.print("moving servo to ");
Serial.print(val1,DEC);
Serial.println();
for(int i=0;i<=50;i++)//Given enough time to make servo to rotate specified angle
{
servopulse(sp1,val1);//Invoke the pulse function
}
}
}
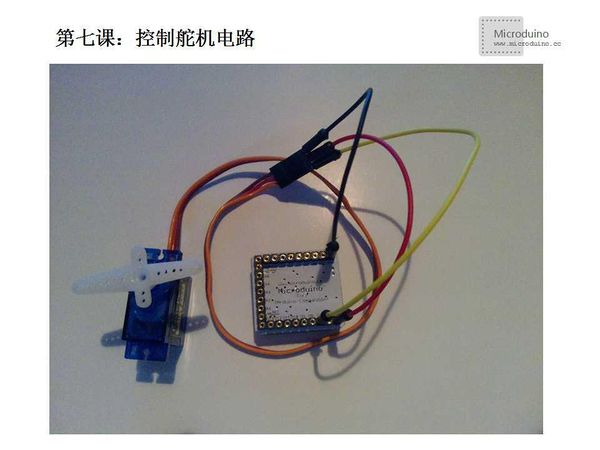
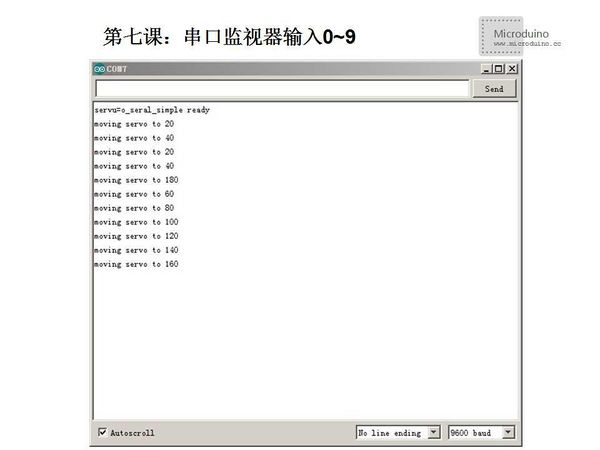
DebugSetp 1:Setup circuit, as following: Setp 2: Copy the code to IDE and then compile, run it. Setp 3:Open the serial monitor, input 1 ~ 9.
ResultEnter a number, the servo will rotate corresponding angle. Video |


