Control Led Brightness
| Language | English |
|---|
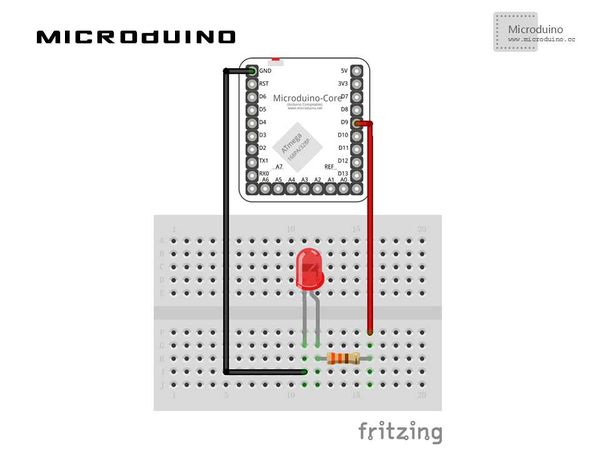
ObjectiveThis tutorial will teach you how to control LED's brightness via Processing. Equipment
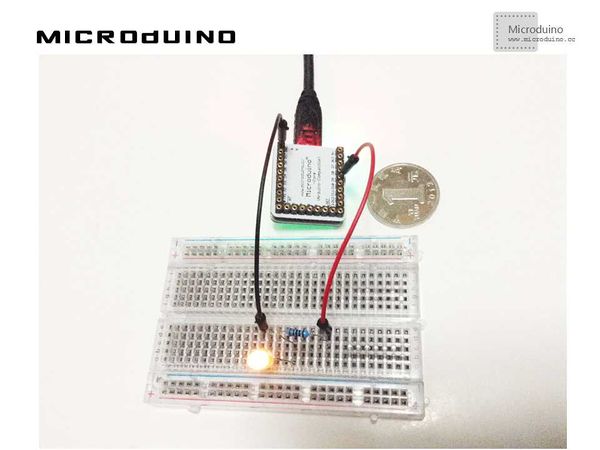
SchematicProgramhttps://github.com/Microduino/Microduino_Tutorials/tree/master/Microduino_Processing/LEDBrightness Note:Don't drop the picture in program DebugStep 1:Set up hardware system, as follows: Step 2:Explain the code: The following code's function is that move the mouse on x position, the brightness of picture and LED will change accordingly. void draw() {
loadPixels();
// We must also call loadPixels() on the PImage since we are going to read its pixels. img.loadPixels();
for (int x = 0; x < img.width; x++ ) {
for (int y = 0; y < img.height; y++ ) {
// Calculate the 1D pixel location
int loc = x + y*img.width;
// Get the R,G,B values from image
float r = red (img.pixels[loc]);
float g = green (img.pixels[loc]);
float b = blue (img.pixels[loc]);
// We calculate a multiplier ranging from 0.0 to 8.0 based on mouseX position.
// That multiplier changes the RGB value of each pixel.
float adjustBrightness = ((float) mouseX / width) * 8.0;
r *= adjustBrightness;
g *= adjustBrightness;
b *= adjustBrightness;
// The RGB values are constrained between 0 and 255 before being set as a new color.
r = constrain(r,0,255);
g = constrain(g,0,255);
b = constrain(b,0,255);
// Make a new color and set pixel in the window
color c = color(r,g,b);
pixels[loc] = c;
}
}
updatePixels();
//output r value to ledpin
arduino.analogwrite(ledPin, int(r));
}
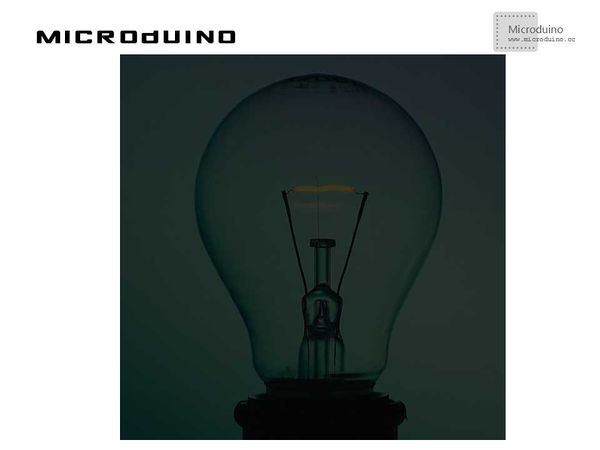
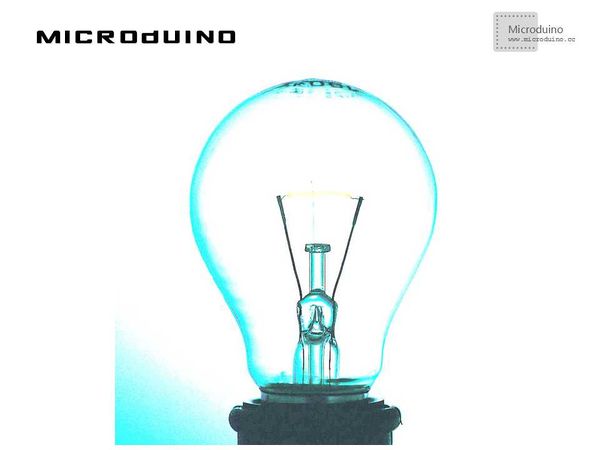
Step 3: Compile the code and download it. Step 4: The mouse lateral movement on the LED, observe the result. ResultThe mouse is on the left, got the darkest LED, on the right side, got the brightest LED, along with the gradual change from left to right, the effect of the processing as follows: Mouse on the left: Mouse in the middle: Mouse on the right: Video |
