【向标签内写入内容】
|
在获得一张新的mifare标签时,需要将其格式化为ndef数据格式
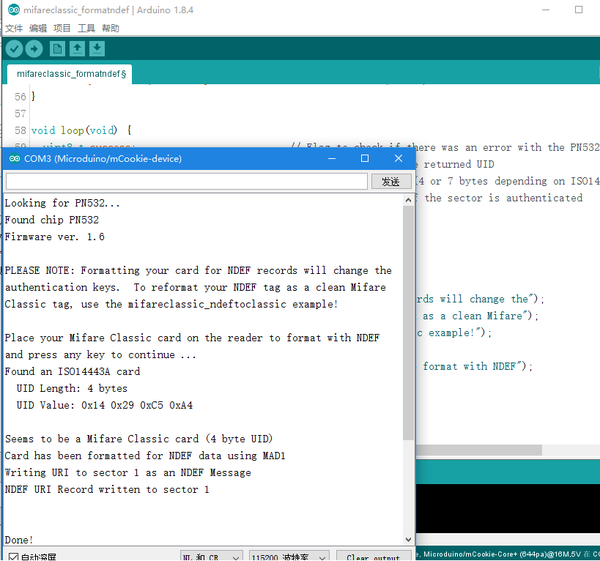
将卡片放在读卡器上,确认模块与读卡器连接好。打开串口等待提示,当出现“press any key to continue”时在串口输入任意字符即可进入之后步骤。
uint8_t keya[6] = {0xFF, 0xFF, 0xFF, 0xFF, 0xFF, 0xFF};
初始写入内容在如下代码处更改 const char * url = "www.microduino.cn";
uint8_t ndefprefix = NDEF_URIPREFIX_HTTP_WWWDOT;
// for an email address
//const char * url = "mail@example.com";
//uint8_t ndefprefix = NDEF_URIPREFIX_MAILTO;
// for a phone number
//const char * url = "+1 212 555 1212";
//uint8_t ndefprefix = NDEF_URIPREFIX_TEL;
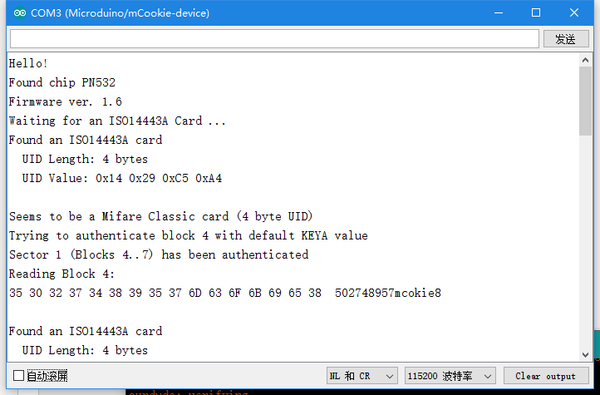
在程序中找到如下程序段,该段程序会向卡片中写入“50274895mcokie8”字符串(不包括引号)。之后程序会再次读出该字符串。 // If you want to write something to block 4 to test with, uncomment
// the following line and this text should be read back in a minute
memcpy(data, (const uint8_t[]){ '5', '0', '2', '7', '4', '8', '9', '5', 'm', 'c', 'o', 'k', 'i', 'e', '8' }, sizeof data);
success = nfc.mifareclassic_WriteDataBlock (4, data);
打开串口开始运行程序,会看到如下返回。
|

