Setup Processing IDE
| Language | English |
|---|
ObjectiveThis turorial will teach you how to set up the Processing IDE, and connects to Microduino to show processing's powerful graphics and interaction function. Equipment
ProcessingProcessing is an open source programming language and integrated development environment (IDE) built for the electronic arts, new media art, and visual design communities with the purpose of teaching the fundamentals of computer programming in a visual context, and to serve as the foundation for electronic sketchbooks. The project was initiated in 2001 by Casey Reas and Benjamin Fry, both formerly of the Aesthetics and Computation Group at the MIT Media Lab. One of the stated aims of Processing is to act as a tool to get non-programmers started with programming, through the instant gratification of visual feedback. The language builds on the Java language, but uses a simplified syntax and graphics programming model. Official webpage:http://www.processing.org
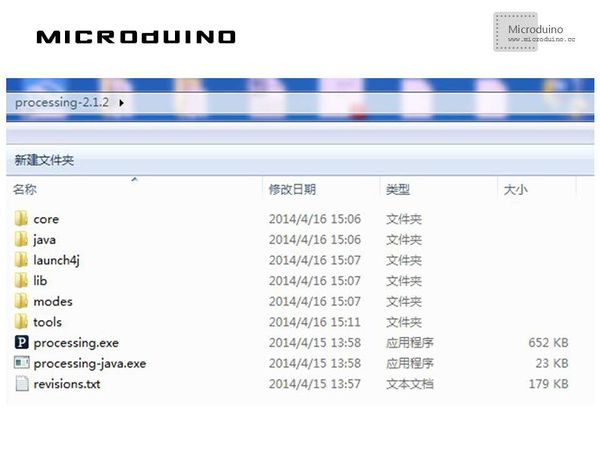
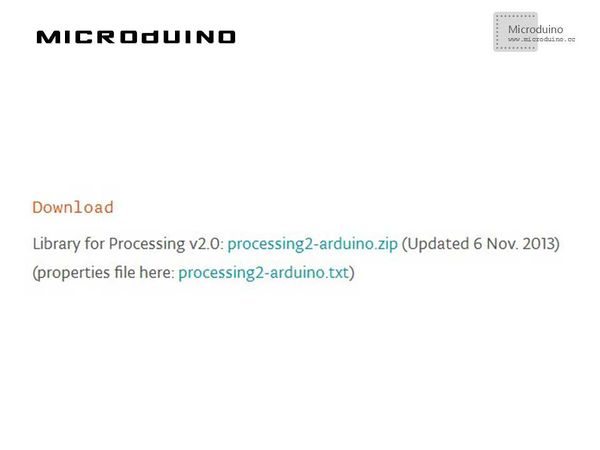
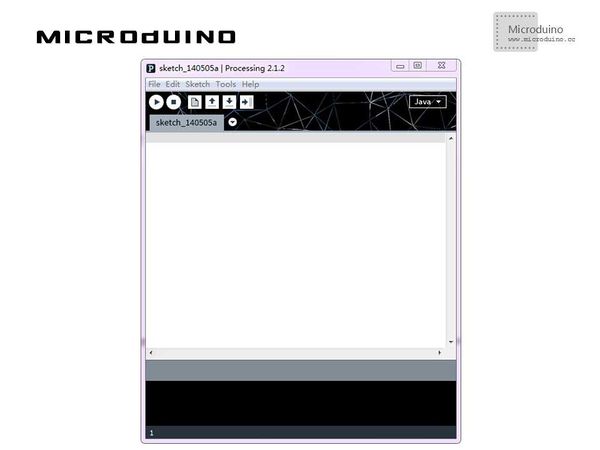
SchematicProgramDebugBefore setup the Processing development enviroment, you need install JAVA JDK firstly. You can download the JDK package from orical webpage. Step 1:Download Processing from official webpage. Put the folder to anywhere you want. https://www.processing.org/download/ Open the folder you can see following contents: Download the Processing's Arduino library which used to communicate with Arduino. Open the link "http://playground.arduino.cc/Interfacing/Processing", you can see following prompt: Click download, and uncompress the Arduino folder, then copy to modes\java\libraries folder of Processing, restart Processing IDE. Click the processing.exe to open the Processing window, as follows: It is very similar with Arduino IDE.
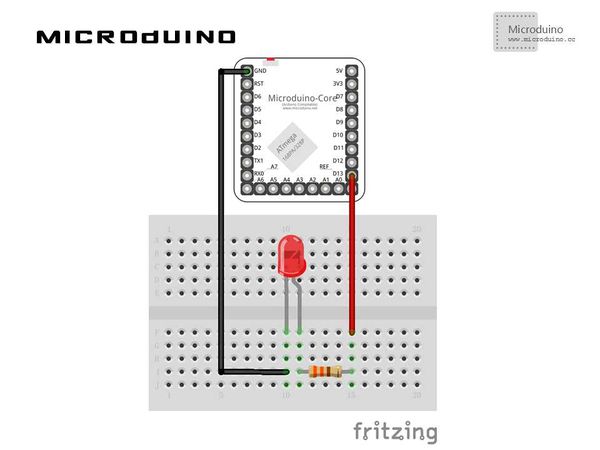
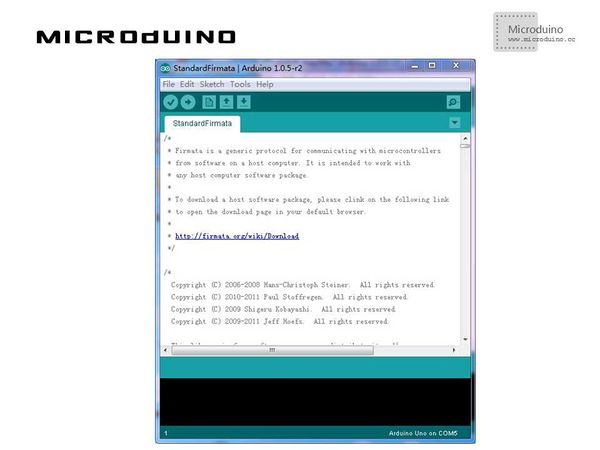
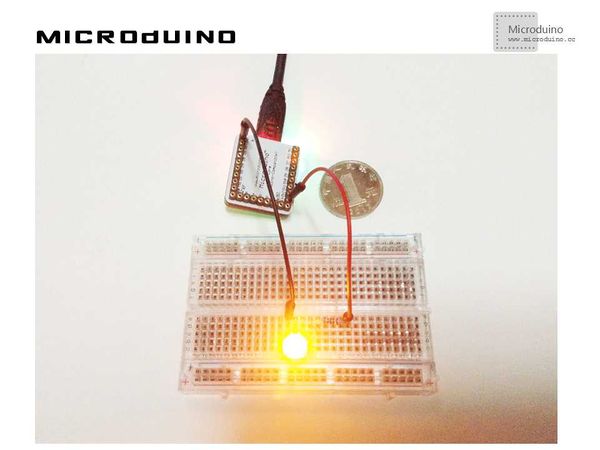
文件:ProcessingImport.jpg 600px Serial used to monitor serial data. Arduino(Firmata) uses to control Microduino. Open the Arduino IDE, download the "Examples > Firmata > StandardFirmata sketch" program to the Microduino core, as follows: Select the Microduino core module, then download directly, then Processing can communicate with Microduino. Step 3:Explain the code: //default define first com port arduino = new Arduino(this, Arduino.list()[0], 57600); //set LED pin is output arduino.pinMode(ledPin, Arduino.OUTPUT); //digitalWrite hight to ledpin arduino.digitalWrite(ledPin, Arduino.HIGH); Set the baud rate to 57600. You need set the same baud rate in Processig and Microduino. Step 4: Set up hardware system, as follows:
ResultThe light will flash with 1s time interval, just like use the Arduino to control. Video |
