Microduino Matrix Keyboard Coded Lock

来自Microduino Wikipedia
1304410487@qq.com讨论 | 贡献2015年3月6日 (五) 08:29的版本 (Created page with "{{Language|Microduino Keyboard matrixcombination lock}} {| style="width: 800px;" |- | ==Outline== *Project: Microduino Matrix Keyboard Coded Lock *Purpose: The course will sh...")
(差异) ←上一版本 | 最后版本 (差异) | 下一版本→ (差异)
跳转至: 导航搜索
Language English

Outline

  • Project: Microduino Matrix Keyboard Coded Lock
  • Purpose: The course will show you how to make a matrix keyboard coded lock
  • Difficulty: High
  • Time-consuming: Five-hour
  • Maker: Microduino Studio-ray

Bill of Material

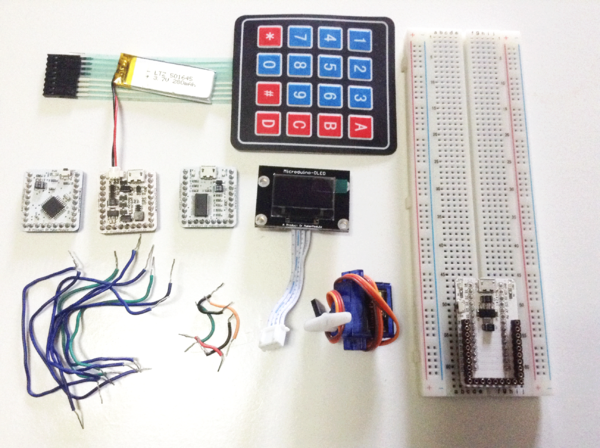
KeyPadAll.png
  • Microduino Equipment
Module Number Function
Microduino-Core 1 Core board
Microduino-USBTTL 1 Program download
Microduino-OLED 1 For interactive display
Microduino-Plug 1 Connect OLED
Microduino-BM 1 Power supply


  • Other Equipment
Matrix keyboard 1 Interactive input
Pegboard 1 Circuit Installation
Servo 1 Encryption device control
3.7V Li-ion Battery 1 Power supply
Wire 1 Circuit connection

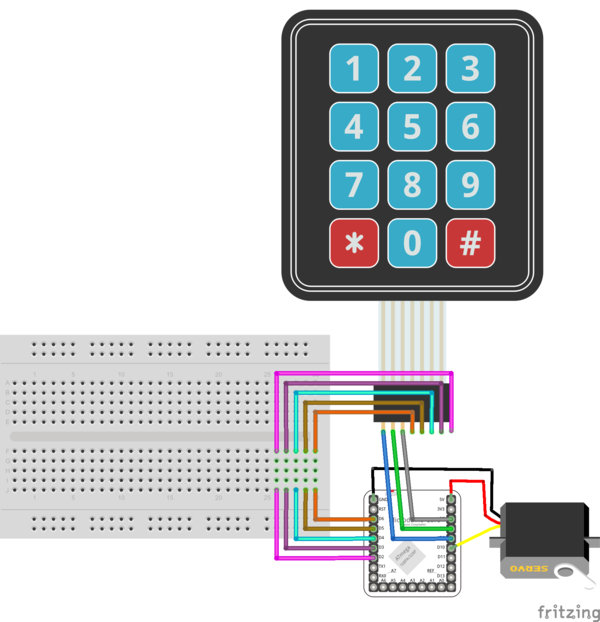
Schematic

KeyPadSchematic1.png

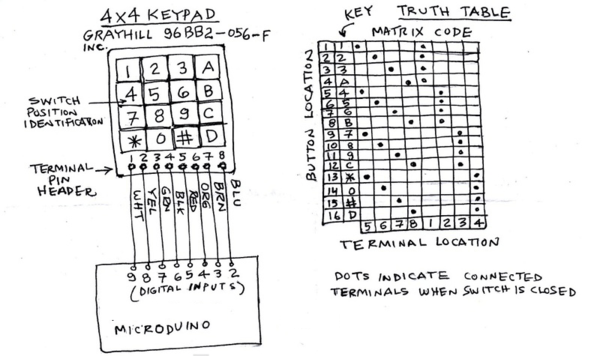
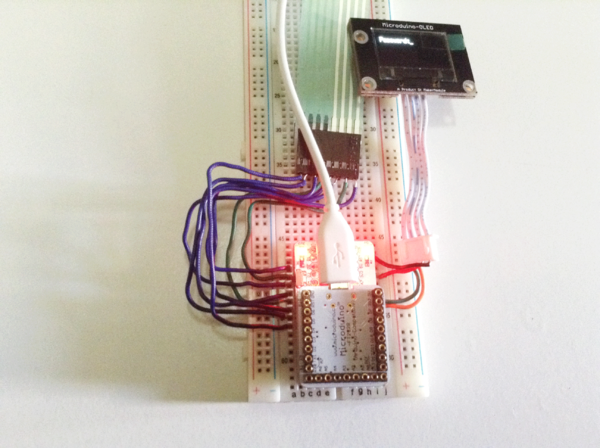
The matrix keyboard mentioned above is 4*3 while in this course is 4*4. The connector of the keyboard is showed as follows:

KeyPadSchematic2.png

Program

[MicroduinokeyPadLockDoor]

Debugging

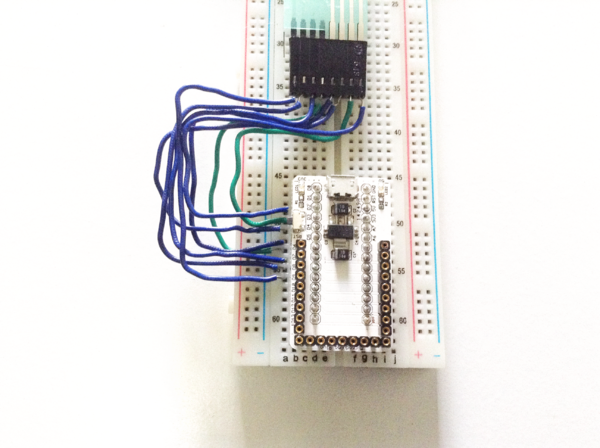
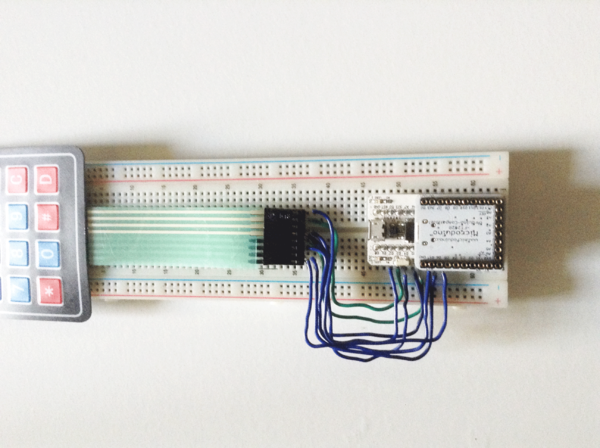
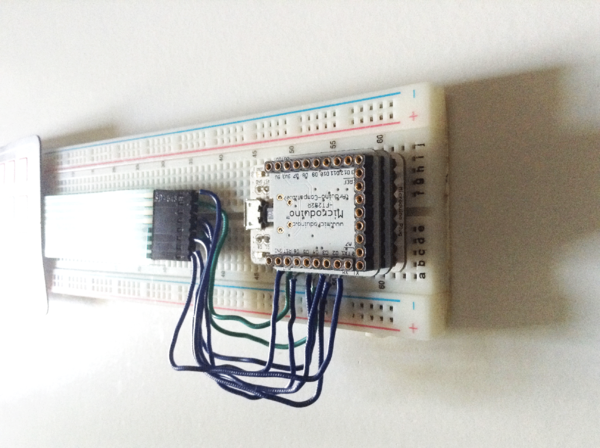
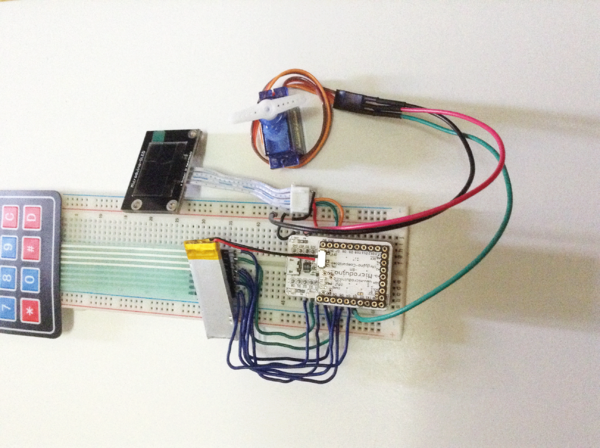
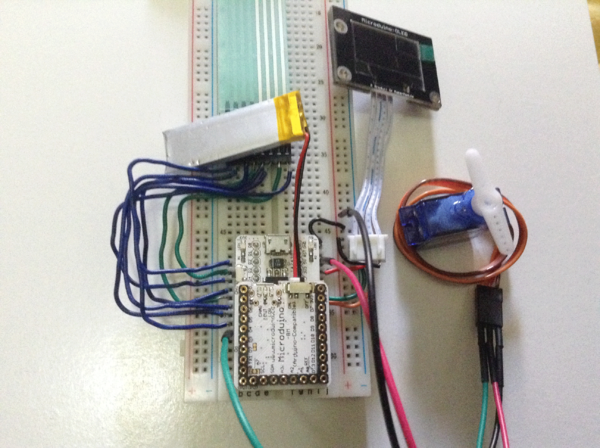
Step 1: Build circuit

Connect to keyboard

KeyPadSetup1.png

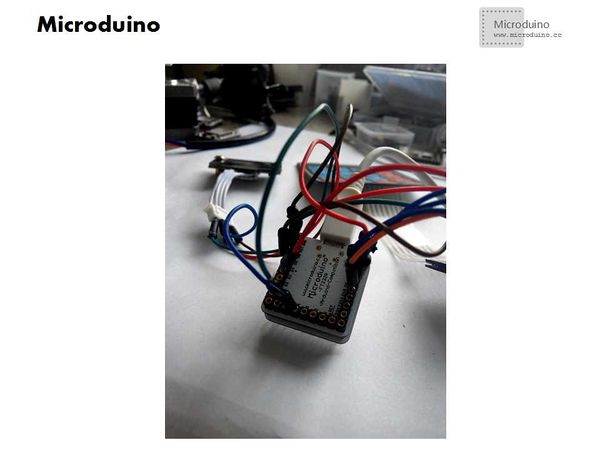
Stack modules:

KeyPadSetup2.png
KeyPadSetup3.png

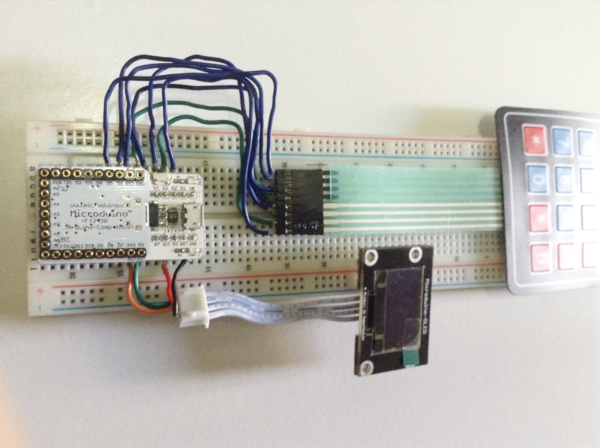
Connect OLED:

KeyPadSetup4.png
KeyPadSetup5.png

Step 2: Download the code and run. If there is compiling error, you will need [keypad.zip] and restart IDE after download.

KeyPadSetup6.png

Step 3:

Usage:

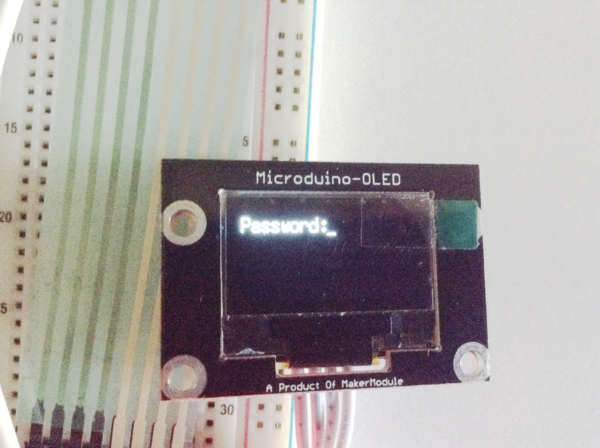
After powering on the coded lock, OLED will show “Password”.

KeyPadSetup7.png
KeyPadSetup8.png

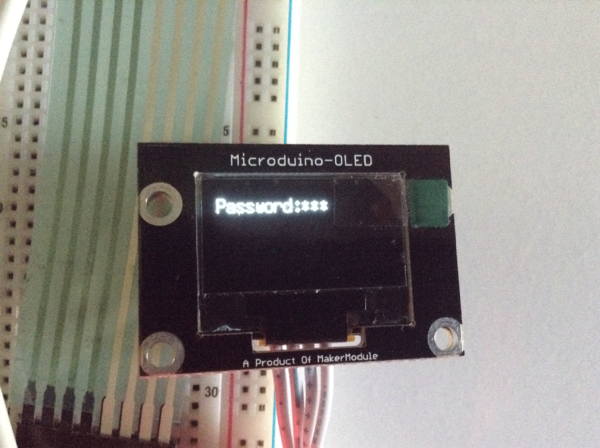
The initial password is “123456”.

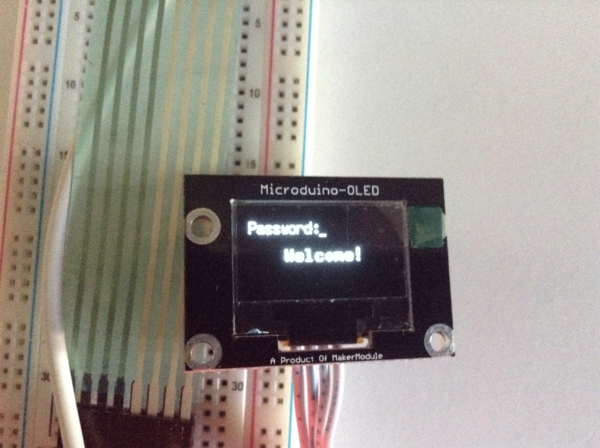
After you enter the code, it will display “Welcome” and the servo will turn 90 degrees and return to zero after five seconds, which means it has been opened.


KeyPadSetup9.png


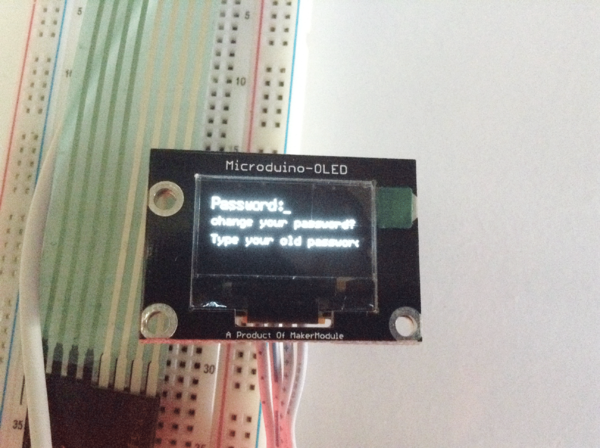
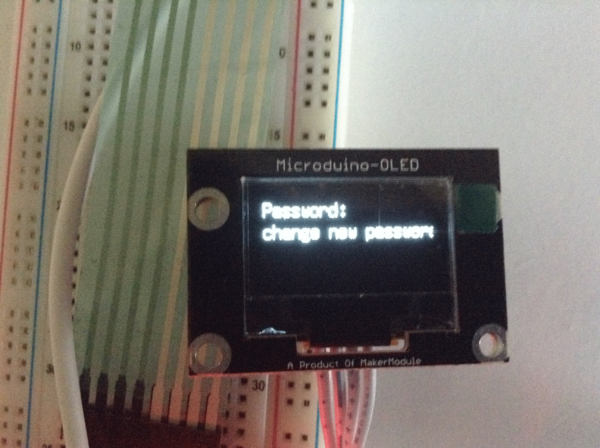
If wanting to change the code, you need to press “*”. OLED will remind you to enter the previous password before you want to change a new one. You can’t change the code when inputting wrong.

KeyPadSetup10.png
KeyPadSetup11.png

Step 4: Then install Microduino-BM and the Li-ion battery and fixate to the drawer.

KeyPadSetup12.png
KeyPadSetup13.png

Result

The drawer can only be opened when entering correct password. You can also reset the password and save password when there is power-off.

Video