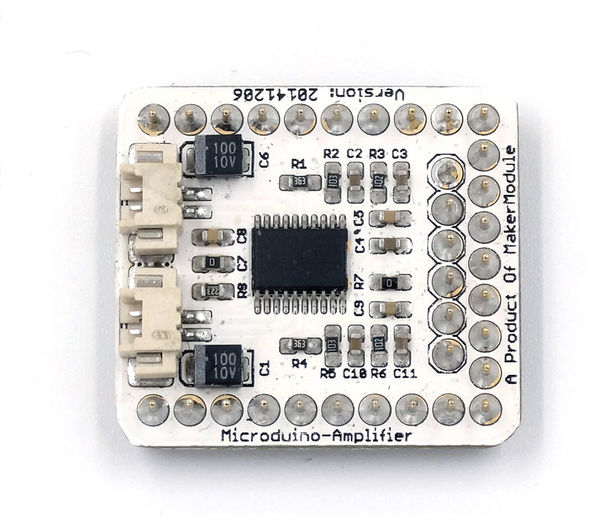
Specifications
- Provide 2.2W output for 4Ω load;
- Operating Voltage:2.0-5.5V;
- Externally controlled, low-power shutdown mode, typical shutdown current of 0.7uA.
Document
Eagle PCB 文件:Microduino-LM4863.zip
Main Component
Development
- Make sure the 5V power supply current can reach 500ma, not recommended use FT232R debugging directly, becasue FT232R's output current is small.
Arduino library and supported package
How to use the library
- Original library SD module CS pin is D4, need change to D7;
- Original library can not directly support Microduino Core +, we have modified this library to solve this problem;
- Recommend 2GB or less (including 2GB) FAT format TF card.
Externally controlled low-power shutdown
- In many applications, the shutdown port's level conversion is finished by the controller, but it can also be used to implement by a one-way blade switch;
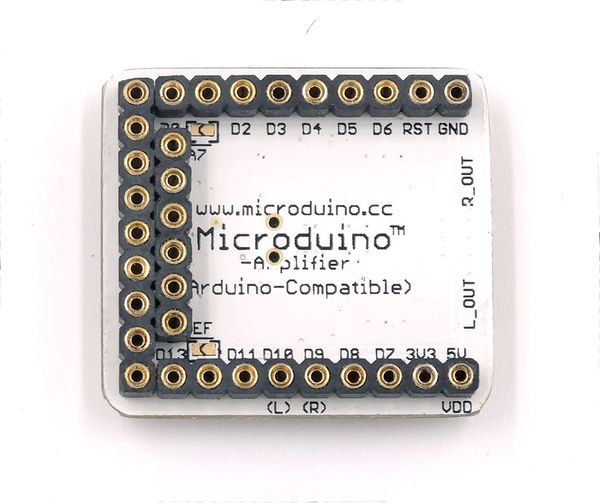
- Connect a pull-up resistor on the third pin of Second row pin female which near the D13 pin, then disconnect switch, this pin will be pulled low, so the Amplifier begin to work;
- Turn on the switch,pull-up resistor will pull up the voltage, then LM4863 stop work.
Application
Program Download
The Audio experiment using Core and SD
- Prepared Hardware:Microduino FT232R、Microduino Core、Microduino SD、Microduino LM4863;
- Prepared Software:Arduino IDE(1.0 release upper)、Microduino provides test program(Arduino part)、SimpleSDAudio library、Audio file creation tools;
- 将下载好的库文件夹放入Arduino IDE安装文件夹内的libraries中;
- 将examples文件夹的EXAMPLE.AFM复制到存储卡内
- 启动Arduino IED,打开BareMinimum示例程序,板卡选择Microduino Core (Atmega328P@16M,5V),直接下载即可;
- 就可以听到声音了!
- 如果要播放自己的音频,需要把“EXAMPLE.AFM”改成生成的音频文件名即可;
音频文件制作过程
- 把任意音频文件转换成.wav格式,这里用到格式工厂;
- 生成音频文件:
- 我们需要用到一款基于SoX的工具,然后根据你的Microduino的工作频率选择合适的转换程序;
- 解压工具,进入“Arduino with 16 MHz”文件夹,把音频文件放入到该文件夹中,并拖动到“FullRate@16MHz_Stereo.bat”(16M全速立体声)批处理上;
- 即可转换程序,会弹出一对话框,出现“请按任意键继续...”;
- 结束后你会发现新建了一个文件夹,转换好的文件就在里面。
Pictures
|

