体感互动-Microduino V1
目的本教程将教大家如何MicroduinoV1模块控制Processing中的笑脸上下左右移动。 设备
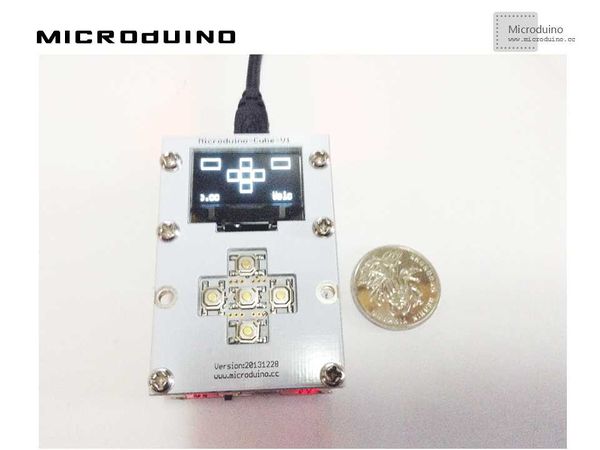
原理图直接使用Microduino-V1操作 程序见 ProcessingMicroduinoV1 ProcessingMicroduinoV1Arduino 调试步骤一:按着原理图搭建硬件环境,像这样:
本例需要两端的代码,Processing端和Microduino端 Microduino: //判断MicroduinoV1上的上下左右中按钮是否按下,并把结果发送给Processing用以显示 if(button<40) key_up=2; else if(button>50&&button<100) key_up=4; else if(button>138&&button<141) key_up=1; else if(button>358&&button<361) key_up=3; else if(button>228&&button<231) key_up=5; Processing: //得到第一个串口的数据,并定义如果有换行就缓存 // is always my Arduino, so I open Serial.list()[0].
// Open whatever port is the one you're using.
myPort = new Serial(this, Serial.list()[0], 9600);
myPort.bufferUntil('\n'); // Trigger a SerialEvent on new line
//把从Microduino接收到的数据用以控制屏幕上的笑脸上下左右移动 if (val != null) {
val = trim(val);
println(val);
buttonValue=Integer.parseInt(val);
switch(buttonValue) {
case 1:
yPos++;
break;
case 2:
xPos--;
break;
case 3:
xPos=400;
yPos=200;
break;
case 4:
xPos++;
break;
case 5:
yPos--;
break;
default :
}
image(face, xPos, yPos);
}
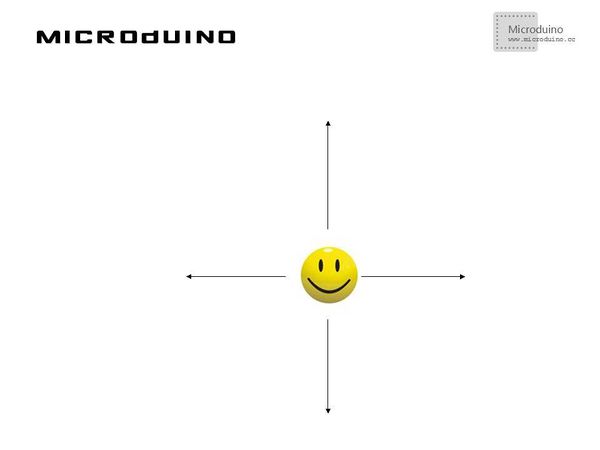
步骤三:下载代码并编译通过。 步骤四:运行后,按下MicroduinoV1上的按钮,看看笑脸有什么反应。 结果你可以通过上下左右键来控制笑脸移动,像这样:
视频 |

