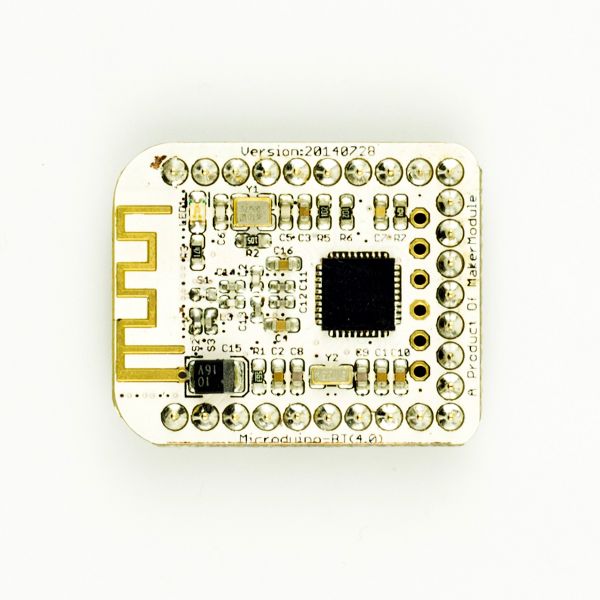
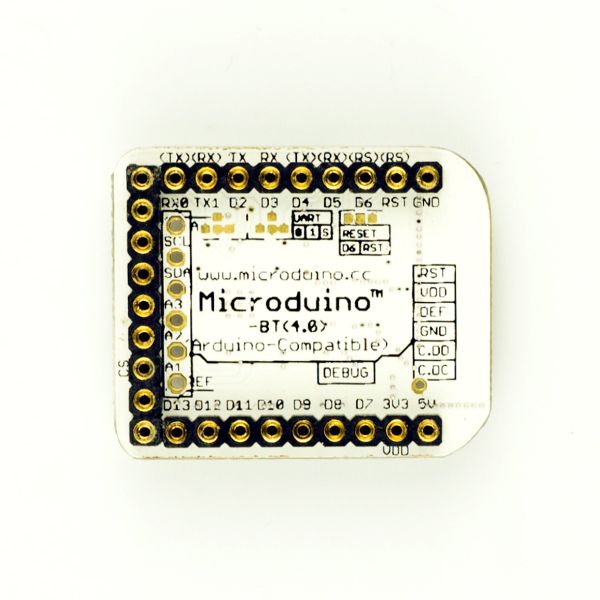
Microduino-Module BLE/zh
| Language | English |
|---|
|
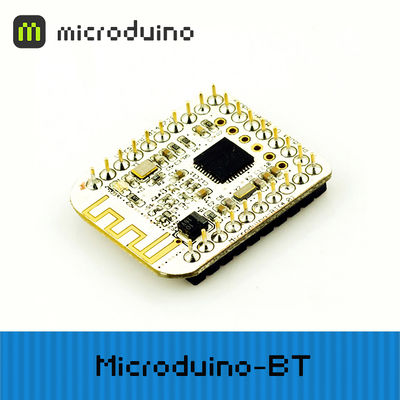
Microduino-BT模块是基于CC2541芯片的蓝牙低能耗 (BLE) 的串口透明传输模块,专为 U 型27 PIN 标准 Microduino 接口设计。原模块参考Microduino-【BT】/zh。 目录特色
规格
文档Eagle PCB 文件:Microduino-BT Shield.zip 支持AT指令配置/控制:文件:Microduino-BLE.pdf 主要元件
测试APP
开发串口通讯要求
PC上位机调试时
用USBTTL、Core下载、调试程序时
与Android设备通信
| ||||||||||
|
步骤一:将程序下载到mCookie里; | ||||||||||
|
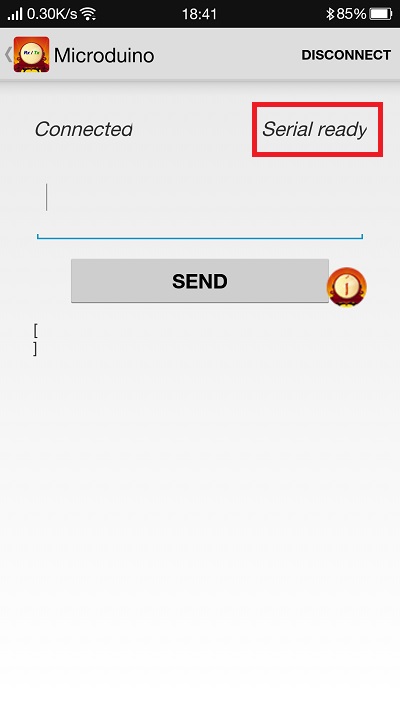
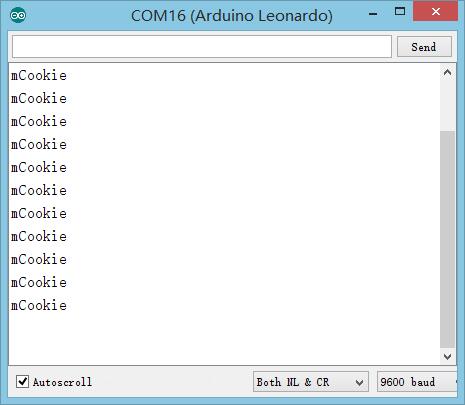
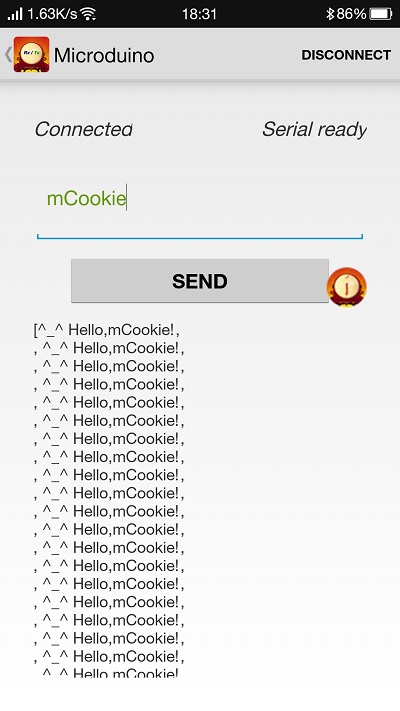
步骤二:开始设置Android设备,打开Android设备的蓝牙功能,打开App,并在电脑IDE端打开串口监视器; 步骤三:点击App右上方SCAN按钮,这是用来搜索周围蓝牙接入点的,点击SCAN后会显示周围的蓝牙设备。 点击对应的Microduino蓝牙编号,进入界面等待2-3秒钟,待屏右上角变成“Serial ready”字样,说明手机已经与蓝牙建立了连接. 手机向mCookie发送英文字符,串口监视器中收到手机发送的内容。同时手机接收到了mCookie发送的“^_^ Hello,mCookie!”信息,验证了蓝牙的双向通信功能。 与IOS设备通信
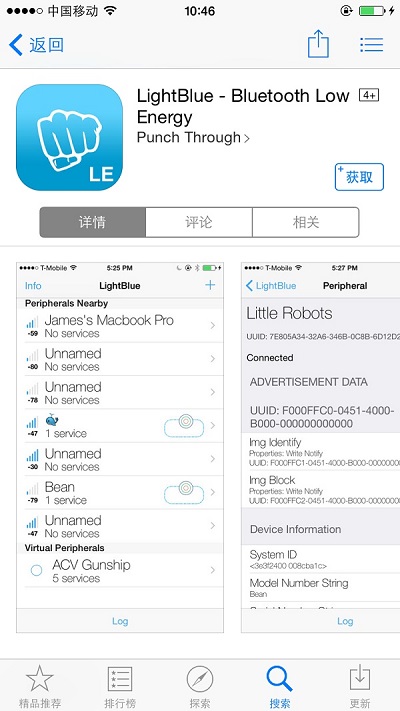
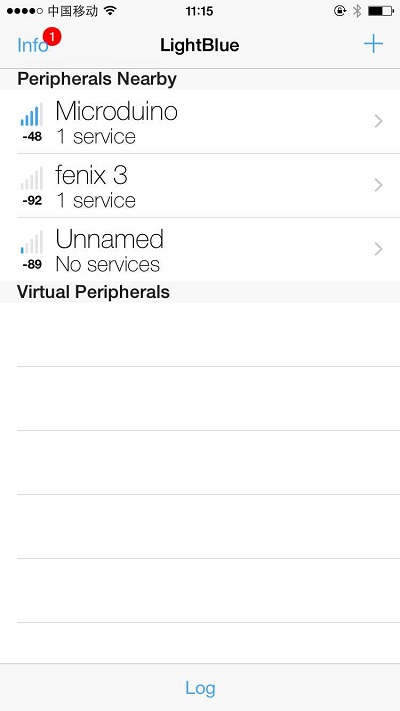
步骤一:将程序下载到mCookie里; 步骤二:安装“lightblue”,打开软件,开始设置IOS设备,打开IOS设备的蓝牙功能。并在电脑端IDE中打开串口监视器 步骤三:打开LightBlue;进入的界面是蓝牙设备搜索界面,从“Peripherals Nearby”下的列表中找到Microduino的蓝牙设备,点击该条目使手机与其建立连接; | ||||||||||
|
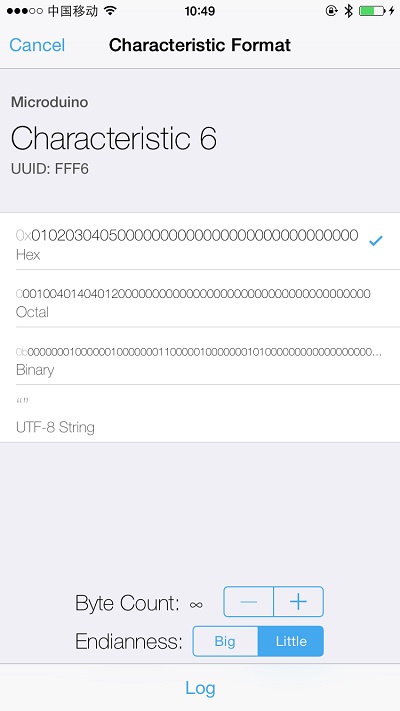
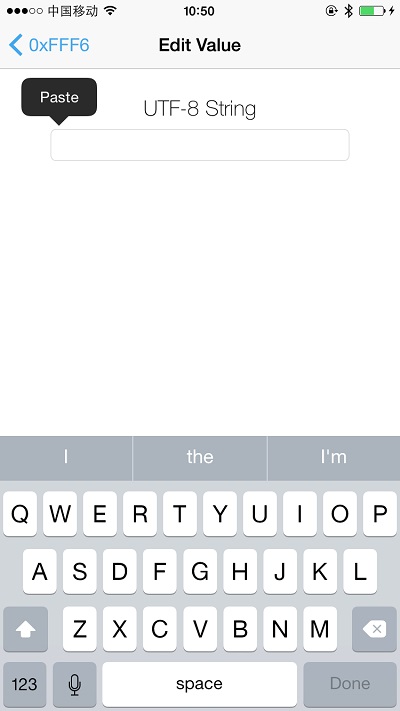
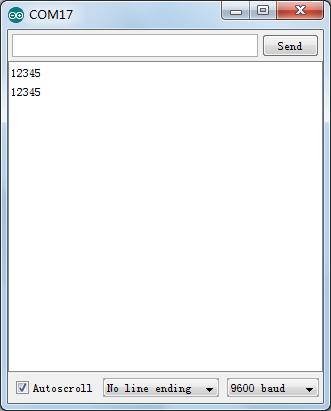
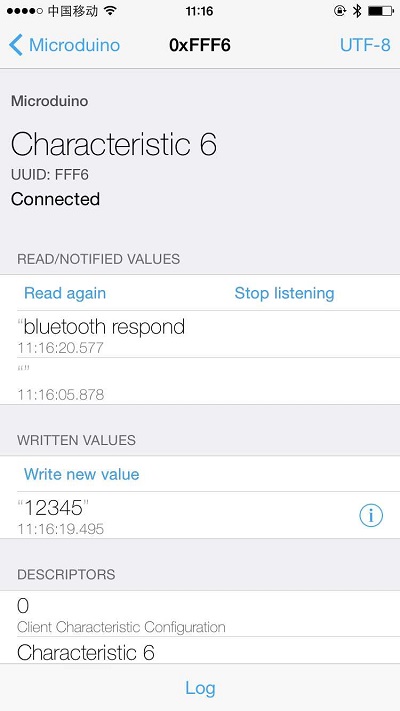
连接后进入页面如下: 步骤四:选择并点击Characteristic6,观察屏幕右上方的编码格式,默认为Hex 16进制编码,如果要显示字符串请点击Hex所在的按钮并选择UTF-8编码格式,之后点击“Listen for notifications”使手机进入监听状态。 步骤六:点击“Write new value”,弹出文本编辑界面 自定义输入一个英文和数字组成的字符串,观察手机和串口的显示结果 可以从图中看到串口收到了手机发送的数据“12345”,手机端也收到了蓝牙返回的数据“bluetooth respond”,说明蓝牙双向通信是畅通的。
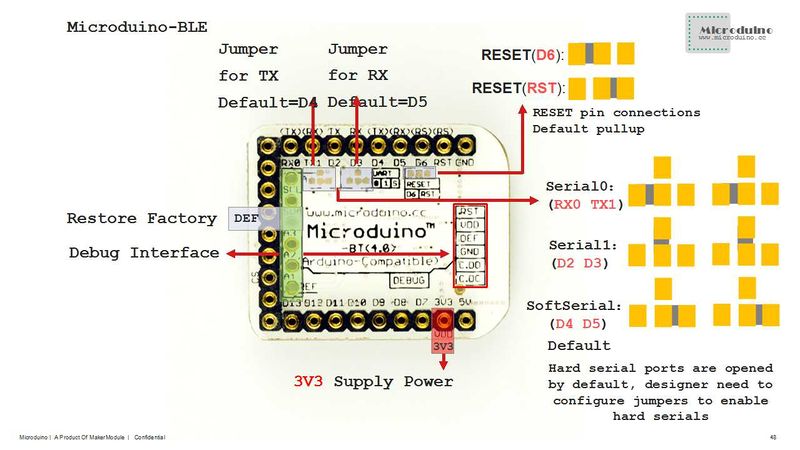
引脚说明
应用程序下载测试程序:文件:BLE debug uart1.zip,文件:BLE LightBlue time.zip
#include <SoftwareSerial.h>

SoftwareSerial mySerial(4, 5); //RX,TX

#define my_Serial mySerial  //core
//#define my_Serial Serial1  //Core+

String currentInfo="";

void setup() {
  Serial.begin(9600);

  my_Serial.begin(9600);

  delay(200); // a 2 seconds delay while we position the solar panel
}

void loop() {

my_Serial.println("111");
delay(500);
my_Serial.println("222");
delay(500);
my_Serial.println("333");
delay(500);

}
#include <SoftwareSerial.h>

SoftwareSerial mySerial(4, 5); //RX,TX

#define my_Serial mySerial  //core
//#define my_Serial Serial1  //Core+

String currentInfo="";

void setup() {
  Serial.begin(9600);

  my_Serial.begin(9600);

  delay(200); // a 2 seconds delay while we position the solar panel
}

void loop() {


  if (my_Serial.available() > 0) {
    currentInfo = my_Serial.readStringUntil('\n');
    Serial.println(currentInfo);
    if(currentInfo=="ERROR"||currentInfo=="Connected") {
      return;
    }

  }

}
通过CoreUSB对Shield BT4.0进行串口调试
通过Core+的uart1对Microduino BT进行串口调试
两个Microduino BT互相通信Microduino BT串口透传数据到IOS设备注意:如果使用Android设备调试,系统要4.3以上的才能检测到Microduino BT模块。通讯源代码参考:https://github.com/iascchen/android-microduino Microduino-Shield BT4.0 简单测试
其它应用: Microduino 物联网智能家居方案 Microduino 小车 Microduino KIT Microduino BLE_Android-202KIT/zh 问题解答
购买历史
图库视频 |
