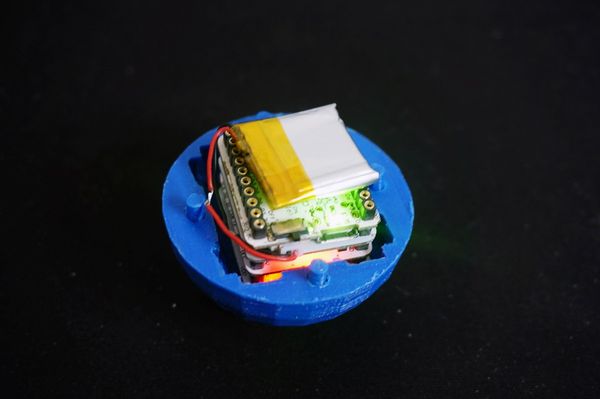
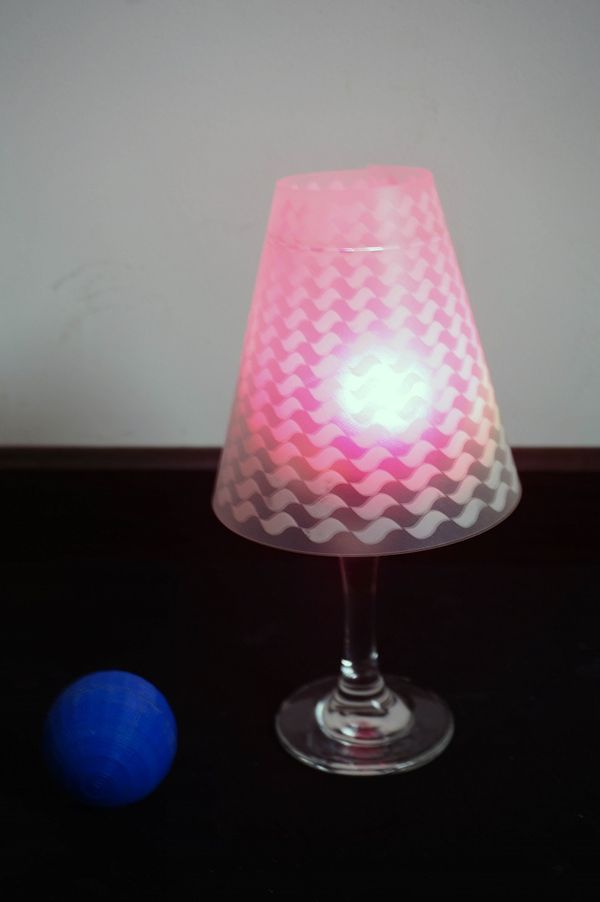
Microduino Altitude Lamp
目录Outline
PrincipleHere we adopt Microduino-nRF24 wireless communication. Microduino-10DOF first acquires altitude data and get it quantified to color value (0-255), and then send it to the lamp, which gets the value and lightens the lamp. The lamp adopts single-wire-bus WS2812 colored-light with built-in IC chip in each light, which can be freely controlled. Bill of Material
DocumentProgram download: mpu_ws2812 3D module download:文件:3D-Ball.zip Make a Lamp
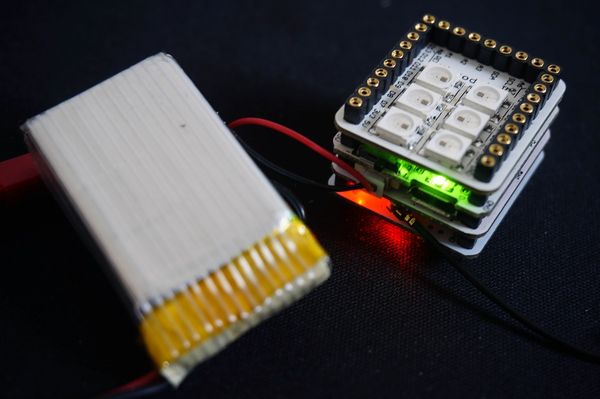
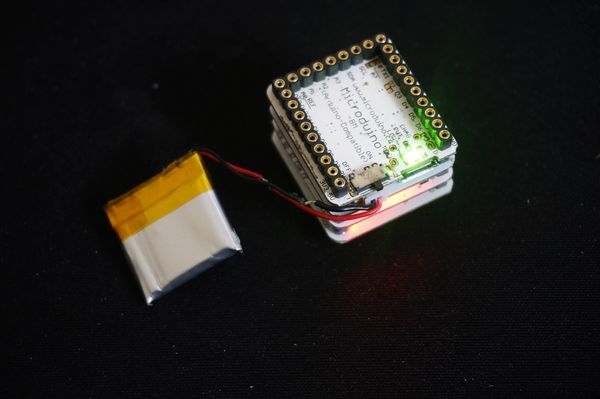
Stack all the modules together.
You will need _99_LCD_NeoPixel, which can refer to: Install Arduino IDE Microduino Progarm Library Support Package. After the installation, just open “strandtest” program in the “Examples”.
#define PIN 6

Adafruit_NeoPixel strip = Adafruit_NeoPixel(60, PIN, NEO_GRB + NEO_KHZ800);
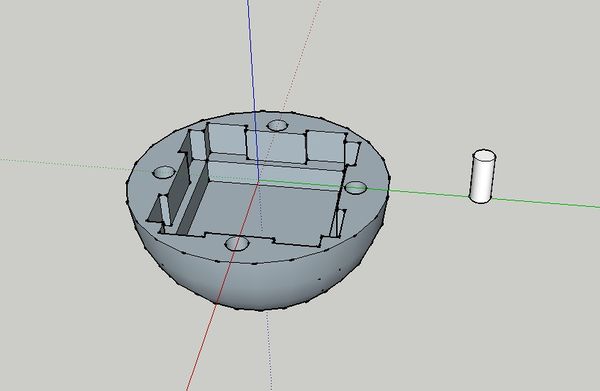
PIN defines the control pin of single wire bus light and “60” defines the quantity of the light. (Users can change that according to personal needs.) After the download, we can the fancy effect of the experiment. Somatosensory Remote-Control BuildupHere we adopt a 3D-printed ball-shaped exterior.
Stack all the modules together freely.
Adopt SketchUp to build 3D model according to hardware circuit buildup specification.
Overall Debugging
Decompress program and open two programs respectively—one for sending and the other for receiving.
Sending end: "mpu.h" is for subprogram of altitude detection. Microduino-10DOF acquires altitude data and then it is quantified to color value (0-225). //=The three lines below are angles between the three axis and the horizontal coordinate system, calculated by acceleration.
Angel_accX=atan(Ax/sqrt(Az*Az+Ay*Ay))*180/3.14;
Angel_accY=atan(Ay/sqrt(Ax*Ax+Az*Az))*180/3.14;
Angel_accZ=atan(Az/sqrt(Ax*Ax+Ay*Ay))*180/3.14;
Angel_accX_send=map(abs(Angel_accX),0,90,0,255);
Angel_accY_send=map(abs(Angel_accY),0,90,0,255);
Angel_accZ_send=map(abs(Angel_accZ),0,90,0,255);
Receiving end: Lighten the colored lights after receiving the data. Angel_accX=rec.rf_x; //Receive time sequence and sign values
Angel_accY=rec.rf_y;
Angel_accZ=rec.rf_z;
Serial.print(Angel_accX);
Serial.print(",");
Serial.print(Angel_accY);
Serial.print(",");
Serial.print(Angel_accZ);
Serial.println("");
colorWipe(strip.Color(Angel_accX, Angel_accY, Angel_accZ), 10);
Not receiving NRF data for two seconds, the colored light will be turned off. if(safe_ms>millis()) safe_ms=millis();
if(millis()-safe_ms>2000)
{
colorWipe(strip.Color(0, 0, 0), 50);
}
Download to the corresponding hardware. Connect battery to the BM module, turn on the power switch on BM. Or you can adopt USB cable for power supply. Note: If cannot initiate the power after changing battery on BM, you need a USB cable to start that and move the ball to see lamp change. Notice
|
