连接谷雨平台/zh
|
连接谷雨平台示例
所需硬件
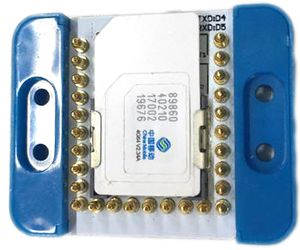
电路搭建 将Battery+、Core+、NBIOT叠在一起。支持NBIOT的SIM卡插入卡槽
代码 #include <SoftwareSerial.h>
SoftwareSerial mySerial(4, 5); // RX, TX
void setup() {
// Open serial communications and wait for port to open:
Serial.begin(9600);
while (!Serial) {
; // wait for serial port to connect. Needed for native USB port only
}
// set the data rate for the SoftwareSerial port
mySerial.begin(9600);
}
void loop() { // run over and over
if (mySerial.available()) {
Serial.write(mySerial.read());
}
if (Serial.available()) {
mySerial.write(Serial.read());
}
}
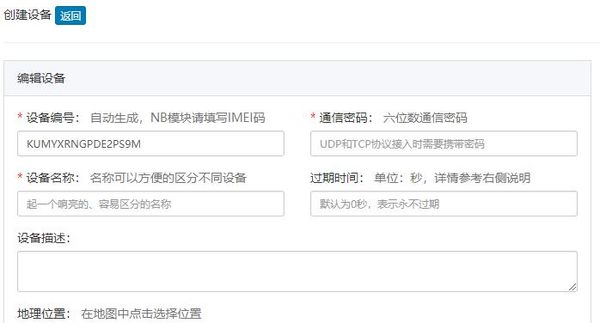
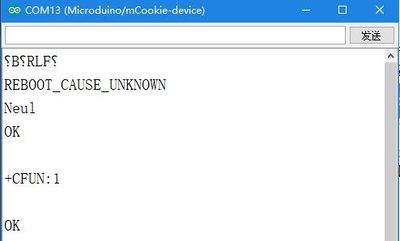
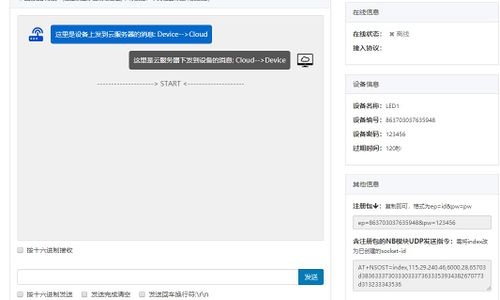
1:将代码复制到Microduino IDE中,程序下载成功后,打开串口,下方选择NL和CR。 2:打开网页,进入http://cloud.iotxx.com/ 6:此时回到Microduino IDE的串口,根据“谷雨NB10x使用说明书-V1.3”第七节的内容开始使用AT指令调试模块。 9:在串口输入AT+CIMI并等待串口返回一串数字,该数字为SIM卡的IMSI号 11:观察页面,左侧为交互窗口,蓝底色为本地模块上发数据,深底色为网页将要下发至北帝模块的数据。右侧在线状态现在为离线,下方注册包文本框中的内容需要注意,下面的步骤中会用到。之后回到Microduino IDE串口。 |


