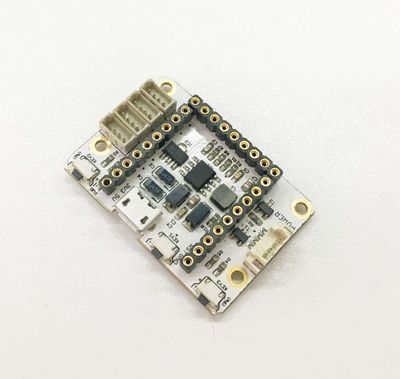
特色
- Pin compatible with Arduino uno;;
- 2.54 pitch board is the base for Microduino module, the same name pin are connected to each other on board, easy to debug.
- Define unified interface Microduino specification and contain rich peripheral modules. Set up the quick connection with other Microduino modules and sensors easily and flexibly;
- Onboard analog buttons, extended interface;
Specification
- Electrical specifications
- MicroUSB power supply;
- 3.3V regular;
- Select the 5V or 3.3V power via PWR jumper, default is 3.3V;
- Onboard power supply (5V、PWR) indicator;
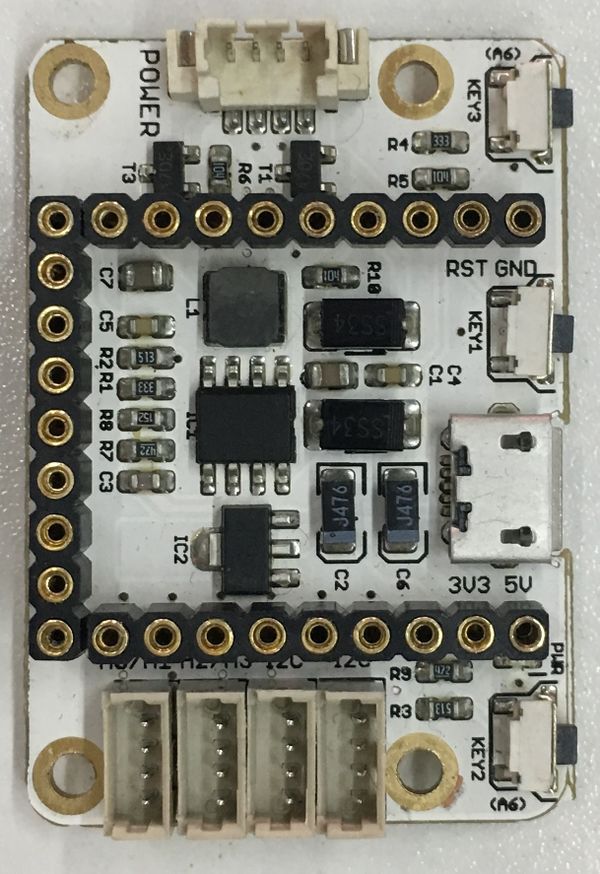
- Extended pin
- Onboard reset button;
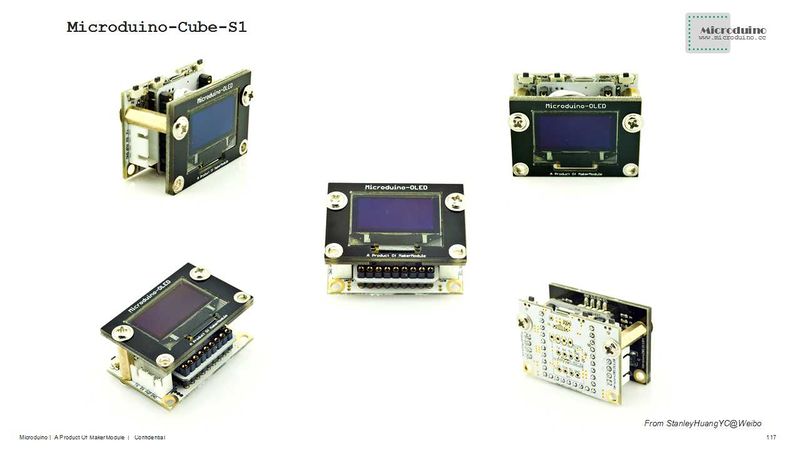
- OLED fixed base;
- Two serial ports, RX0、TX0(Serial) and D2、D3(Serial1);
- Two IIC interfaces;
- Two analogy button interfaces, and connect to A7;
- Sensor interface can be combined by jumper, The player can make the connection by yoursefl, as follows:
- PWR, A3, GND, PWR or PWR, A3, GND, GND or PWR, D6, GND, PWR or PWR, D6, GND,GND.
Document
Eagle PCB local downlaod
Main components:
Development
It can be used with other Microduino modules, sensor to achieve specific functions.
Application
- You can download the test example, and combine OLED to test two analogy of Microduino-Cube-S1, test program Microduino-Cube-S1-Text.zip
- Prepared hardware:Microduino FT232R, Microduino Core, Microduino-Cube-S1, Microduino OLED;
- Prepared software:Microduino example program (Arduino part), Arduino IDE(1.0 release and upper);
- Open the example program in IDE, select the board "Microduino Core (Atmega328P@16M,5V)", download directly;
- After download, OLED displays "No button is pressed ",
- Press the left button, OLED displays "Press the left button" which means the left button was pressed;
- Press the right button, OLED displays "Press the rignt button" which means the right button was pressed;
- If no button was pressed, OLED displays "No button is pressed ", the same state with initial state.
Bug
History
Picture
Front
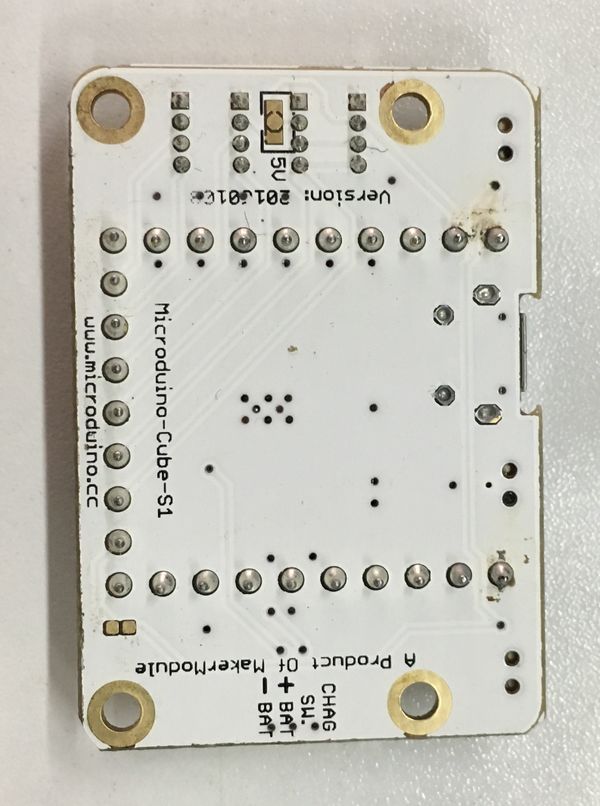
Back
Video
|


