Sensor-Pulse/zh
| Language | English |
|---|
|
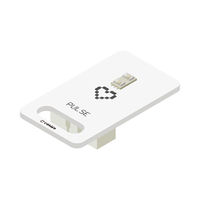
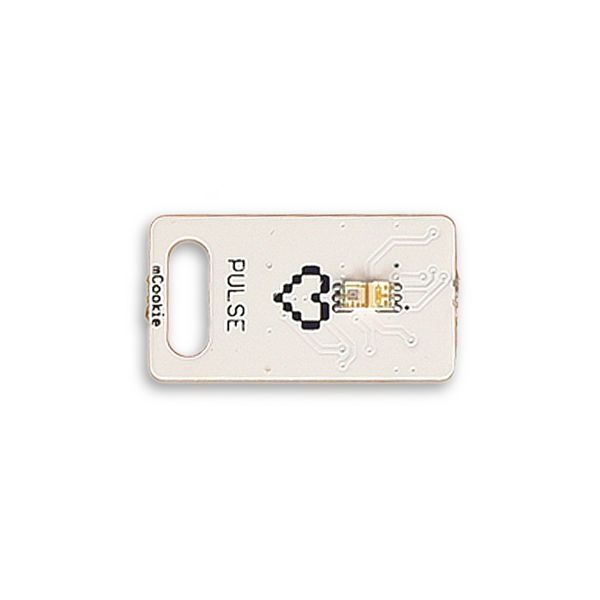
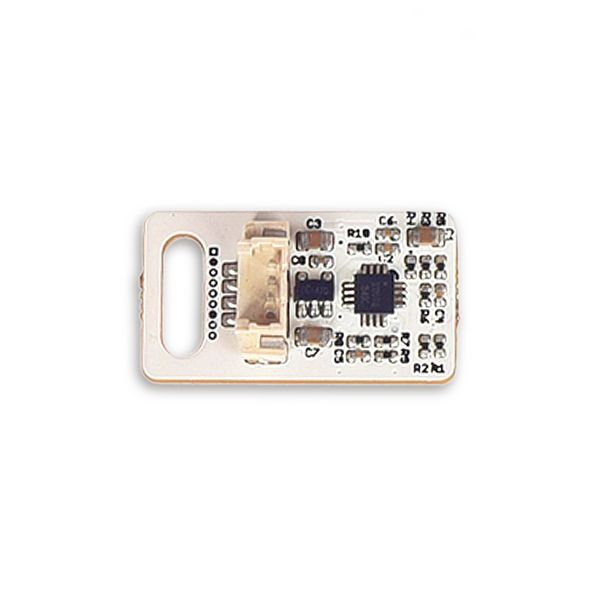
Microduino-Pulse是一块光电原理的心率传感器模块。利用特定波长红外线对血管末端血液微循环产生的血液容积的变化的敏感特性,检测由于心脏的跳动,引起指尖的血液变化, 经过信号放大、调整等电路处理,输出反映指尖血容积变化的完整的脉搏波电压信号。
特色
规格
开发设备
准备
实验:检测心率跳动
#define PIN A0

unsigned long time0;
unsigned long time_cache0;
bool sta = false, sta_cache = true;
unsigned long getTime0() {
  sta_cache = sta;
  sta = digitalRead(PIN);
  delayMicroseconds(200);
  if (sta == HIGH && sta_cache == LOW) {
    time_cache0 = time0;
    time0 = millis();
    return (time0 - time_cache0);
  }
  else {
    return 0;
  }
}

#define time1_MAX 200
#define time1_MIN 50  //过快的波

unsigned long time1;
unsigned long time1_cache;
boolean time1_sta_error = false;
unsigned long getTime1(unsigned long _t) {
  time1_cache = _t;
  if (time1_cache) {  //有数据时才执行滤波
    if (time1_cache < time1_MAX) {   //滤最小阈值
      if (time1_cache < time1_MIN) { //若有过快的波,开启标志位
        //       Serial.println("make");
        time1_sta_error = true;
      }
      return 0;
    }
    else {
      //      Serial.print(".");
      if (time1_sta_error) {  //如果被标志 则本次波形无效
        //        Serial.println("make done");
        time1_sta_error = false;
        return 0;
      }
      return time1_cache;
    }
  }
  else {
    return 0;
  }
}

#define pulse_MIN 40
#define pulse_MAX 180
#define pulse_UPDATA  5
int pulse_num = 0;
unsigned long pulse_vol = 0;
unsigned long pulse_cache = 0;
unsigned long pulse(unsigned long _t) {
  if (_t) {
    unsigned long  _pulse_vol = 60000 / _t;
    //    Serial.print("_pulse_vol:");
    //    Serial.println(_pulse_vol);
    if ((_pulse_vol > pulse_MIN) && (_pulse_vol < pulse_MAX)) {
      pulse_vol += _pulse_vol;
      pulse_num++;
      if (pulse_num > (pulse_UPDATA - 1)) {
        //        Serial.println("OUTPUT");
        unsigned long _pulse = pulse_vol / pulse_UPDATA;
        pulse_num = 0;
        pulse_vol = 0;
        pulse_cache = _pulse;
        return _pulse;
      }
      else {
        return pulse_cache;
      }
    }
    else {
      pulse_num = 0;
      pulse_vol = 0;
      return 0;
    }
  }
  else {
    return 0;
  }
}


// the setup routine runs once when you press reset:
void setup() {
  // initialize serial communication at 9600 bits per second:
  pinMode(A0, INPUT);
  Serial.begin(9600);

  Serial.println("hello");
}

// the loop routine runs over and over again forever:
void loop() {
  // print out the value you read:
  //    Serial.print("t0:");
  //  Serial.print(digitalRead(A0) * 2000);
  long p0 = getTime0();
  long p1 = getTime1(p0);
  long p2 = pulse(p1);
  if (p0) {
    Serial.print(millis() / 1000);
    Serial.print(",");
    Serial.print(p0);
    Serial.print(",");
    Serial.print(p1);
    Serial.print(",");
    Serial.print(p2);
    Serial.println();
  }
  //  delay(3);        // delay in between reads for stability
}
心率传感器会检测到由于心脏的跳动而引起指尖的血液变化情况,将一些不稳定的情况通过算法滤掉,从而得到一个较准备的值。 程序调试应用
项目购买历史图库
|


