“Microduino W5500网络(三)/zh”的版本间的差异
(→结果) |
(→原理图) |
||
| 第20行: | 第20行: | ||
*Microduino-RJ45 | *Microduino-RJ45 | ||
*Microduino-Core | *Microduino-Core | ||
| − | *Microduino- | + | *Microduino-USBTTL |
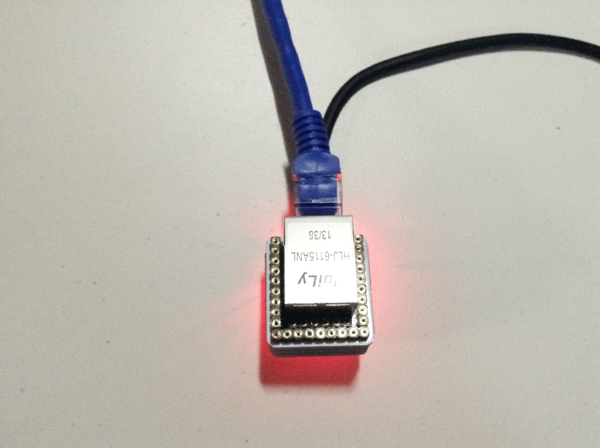
层层堆叠,再插上网线。 | 层层堆叠,再插上网线。 | ||
2015年1月27日 (二) 12:41的版本
目的本教程将教大家如何向一个网站发送数据和接收该网站的返回数据。 设备
原理图
层层堆叠,再插上网线。 如下图所示: 程序调试步骤一:首先需要确保你的IDE中有_02_Microduino_Ethernet_WIZ库,如果没有下载放到你的IDE的libraries文件夹中,重启IDE。 步骤二:如果你的IDE的libraries文件夹中还有之前的Ethernet库的话,需要删除掉,因为之前的Ethernet是根据W5100协议编写的。 然后需要改动一下_02_Microduino_Ethernet_WIZ文件以使库函数与Microduino-W5500模块的引脚对应: 先找到_02_Microduino_Ethernet_WIZ库中的utility文件夹里的w5100.h 把代码中的 #define wiz_cs_pin 8 //CS_PIN 改为 #define wiz_cs_pin 10 //CS_PIN 就可以了。 步骤三:解释一下代码: 为了使下面的例子更实际,这里有一个简单的php网页,每次连接将随机返回一句格言,地址如下http://www.lucadentella.it/demo/aphorisms.php 我们编写的代码可以获得这些格言并输出到串口。 // if you get a connection, report back via serial:
if (client.connect(server, 80)) {
Serial.println("connected");
// Make a HTTP request:
client.println("GET /demo/aphorisms.php HTTP/1.1");
client.println("Host: www.lucadentella.it");
client.println("Connection: close");
client.println();
}
else {
// if you didn't get a connection to the server:
Serial.println("connection failed");
}
在代码中,首先访问这个页面。 // if there are incoming bytes available
// from the server, read them and print them:
if (client.available()) {
char c = client.read();
Serial.print(c);
}
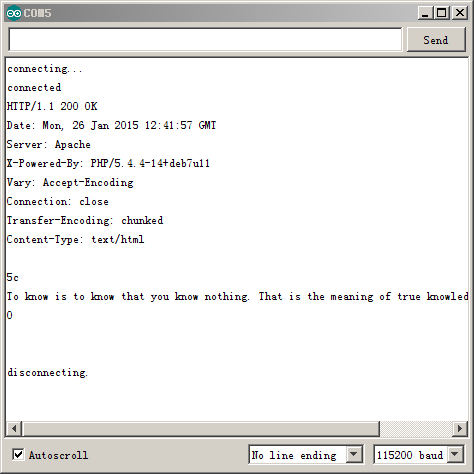
把返回的信息在串口输出,访问失败则串口输出提示。 步骤三:下载代码并编译通过。 步骤四:看看你的串口有啥反应。 结果如果没其他问题的话,你应该可以看到如下信息: 会随机显示一个格言人然后关闭连接 视频 |

