“Microduino-GPRS/GSM”的版本间的差异

来自Microduino Wikipedia
跳转至: 导航搜索
Specifications
第69行: 第69行:
 
**After the input, just press the Enter key, it will remind you to write your message.
 
**After the input, just press the Enter key, it will remind you to write your message.
 
**Just press the Enter key after the input, the sending process will be displayed and then you can see "COMPLETE". .
 
**Just press the Enter key after the input, the sending process will be displayed and then you can see "COMPLETE". .
 +
 +
==FQA==
 +
*Does this module can be used to make a voice phone? Any voice pin was picked out?
 +
**This module can’t be made a voice phone, because it doesn’t have pin.
 +
*Does this module can work with Core+ module?
 +
**Yes.
 +
*Does this module can use Arduino GSM library?
 +
**Yes.
 +
*Does this module can use to 3G?
 +
**No, it only supports GPRS and GSM.
 +
*How to power on this module?
 +
**There are two methods:
 +
***Using the USB on attached module to supply the power, the voltage is 5V and the current MUST lager than 1A.
 +
***Using Li-ion battery on attached module to supply the power, the Li-ion should be 3.7V.
 +
'''BM module can power on the Core module and other module, such as 10DOF, but don't suggest to power GPRS/GSM module, because it is a big power consumption module.'''
  
 
==Purchase==
 
==Purchase==

2014年8月4日 (一) 13:32的版本

Language English
Microduino-USBHOST

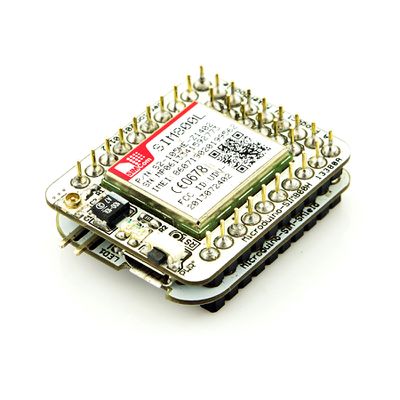
Microduino-GPRS/GSM module can get Microduino core board connected to the internet and achieve the function of sending and receiving messages when it is just inserted with a SIM card and follows some simple instructions.

Features

  • ESD protection;
  • Capable of being charged by USB, li-ion or other power supply options;
  • Support automatic baud rate detection function;
  • Capable of sending AT instructions and data through the serial port;
  • Small, cheap, stackable and open;
  • Open hardware circuit design and Arduino compatible programming development environment;
  • Uniformed Microduino interface standard and rich peripheral modules, capable of having a fast and flexible connection and extension with other modules and sensors in accord with Microduino interface standard;
  • Easy to be integrated to pegboards with a 2.45-pitch female header connector interface.

Specifications

Adopt SIM800L module to support four-band GSM/GPRS, whose working band is:GSM850, EGSM900, DCS1800 and PCS1900MHz.

  • Electrical characteristics
    • Working voltage:3.4V ~4.4V;
    • The current consumption is 0.7 mA under the Sleep Mode
  • GPRS data
    • The maximum data transmission rate of GPRS is 85.6 kbps;;
    • Build-in TCP/IP protocol;
    • Encoding format:CS-1, CS-2, CS-3 and CS-4;
    • Support Unstructured Supplementary Service Data(USSD)
  • Serial debugging
    • Support standard full-function serial as well as the transmission rate with a range from 1200bps to 115200bps;
    • Support the serial port multiplexing function complying with GSM 07.10 protocol;
  • Two Main Compoments:
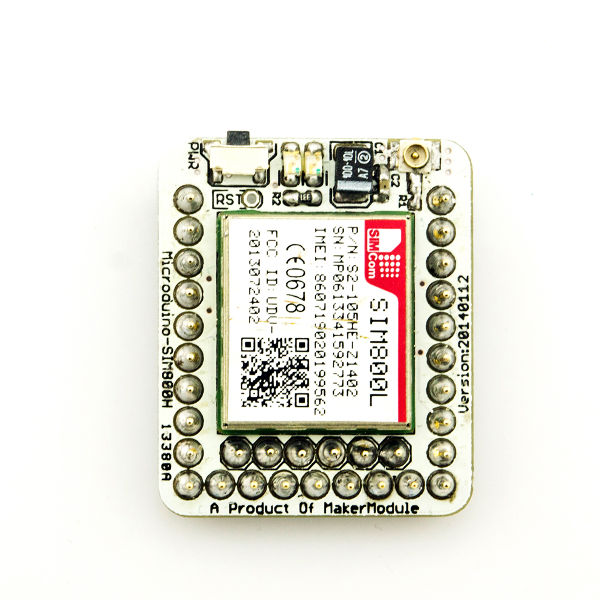
    • SIM800L module
文件:Microduino-SIM800L-Pinout1.jpg
Microduino-SIM800L-Pinout
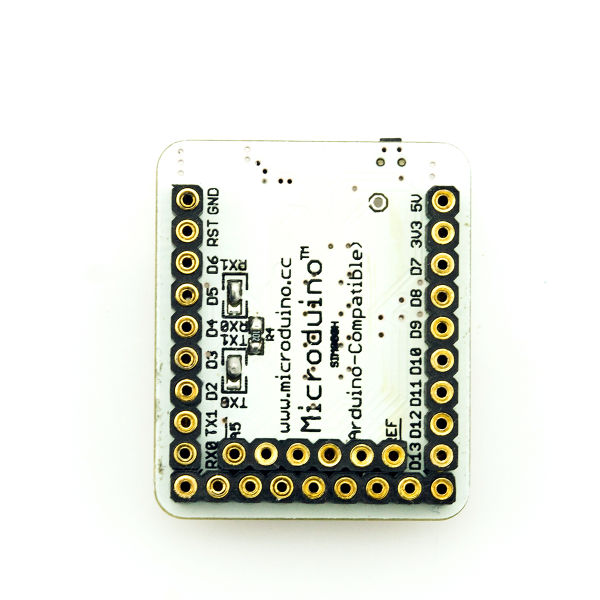
文件:Microduino-SIM800L-Pinout2.jpg
Microduino-SIM800L-Pinout
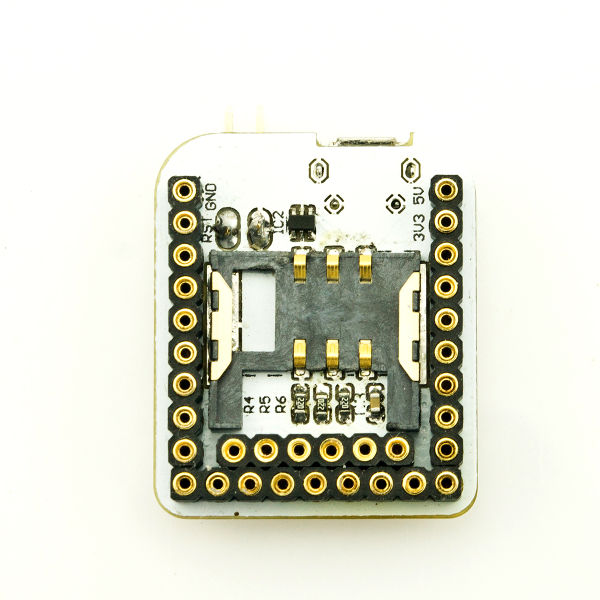
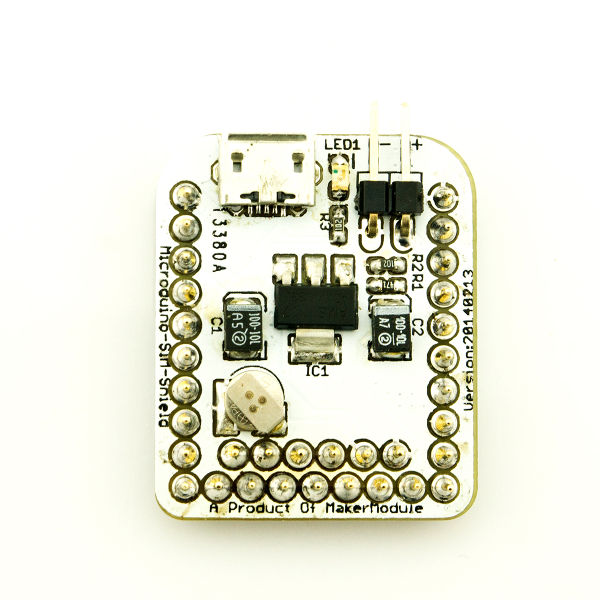
    • SIM card power and base plant
文件:Microduino-SIM-Pinout1.jpg
Microduino-SIM-Pinout
文件:Microduino-SIM-Pinout2.jpg
Microduino-SIM-Pinout

Document

Development

You can use GSM library to test, https://github.com/Microduino/Microduino_Tutorials/tree/master/Microduino_Libraries/_03_Microduino_GSM_SIM800L

Note:This library only supports Microduino-core.

Application

Sending short messages through the example program in the library.

Preparation

  • Hardware:Microduino FT232R, Microduino Core, Microduino GSM, USB cable or lithium battery;
  • Software: GSM library, Arduino IDE (version 1.0.3 and higher);
  • Uncompress the zip folder to libraries of Arduino IDE;
  • Connect the Microduino FT232R and PC using USB cable to download program and monitor the serial port;
  • USB cable or li-ion battery to charge the Microduino GSM module and press the power button for a long time to activate Microduino GSM for about 4 seconds. That the power-on indicator goes on shows a successful start.

Debugging

  • Open SendSMS test program in the examples;
  • After it gets compiled successfully, just select the board "Microduino Core (Atmega328P@16M,5V)" and download directly;
    • Open the serial monitor(The serial monitor is set to the format of "Newline" and "Enter" ), set the baud rate, and the "SMS Messages Sender" will be printed;
    • You need to wait for Microduino GSM module reading SIM card about 10 seconds. If that goes well, "GSM initialized" will be displayed and a note will pop up to remind you to input one number.
    • After the input, just press the Enter key, it will remind you to write your message.
    • Just press the Enter key after the input, the sending process will be displayed and then you can see "COMPLETE". .

FQA

  • Does this module can be used to make a voice phone? Any voice pin was picked out?
    • This module can’t be made a voice phone, because it doesn’t have pin.
  • Does this module can work with Core+ module?
    • Yes.
  • Does this module can use Arduino GSM library?
    • Yes.
  • Does this module can use to 3G?
    • No, it only supports GPRS and GSM.
  • How to power on this module?
    • There are two methods:
      • Using the USB on attached module to supply the power, the voltage is 5V and the current MUST lager than 1A.
      • Using Li-ion battery on attached module to supply the power, the Li-ion should be 3.7V.

BM module can power on the Core module and other module, such as 10DOF, but don't suggest to power GPRS/GSM module, because it is a big power consumption module.

Purchase

History

Picture

Microduino-GPRS/GSM Front

Video