“Sensor-Servo Connector/zh”的版本间的差异
502748957@qq.com(讨论 | 贡献) |
18811016169(讨论 | 贡献) |
||
| 第94行: | 第94行: | ||
|- | |- | ||
|width="50%" valign="top" align="left"| | |width="50%" valign="top" align="left"| | ||
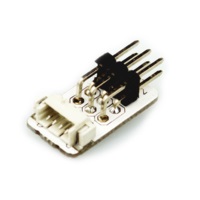
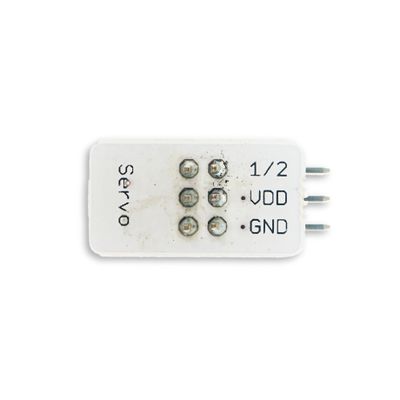
| − | [[file:Sensor-Servo Connector-F.JPG|thumb|400px|center|Sensor- | + | [[file:Sensor-Servo Connector-F.JPG|thumb|400px|center|Sensor-Servo Connector Front]] |
|width="50%" valign="top" align="left"| | |width="50%" valign="top" align="left"| | ||
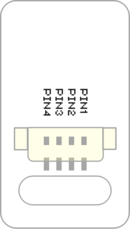
| − | [[file: Sensor-Servo Connector-b.JPG|thumb|400px|center|Sensor- | + | [[file: Sensor-Servo Connector-b.JPG|thumb|400px|center|Sensor-Servo Connector Back]] |
|} | |} | ||
2018年6月12日 (二) 06:46的版本
| |
|
引脚
|
接线说明
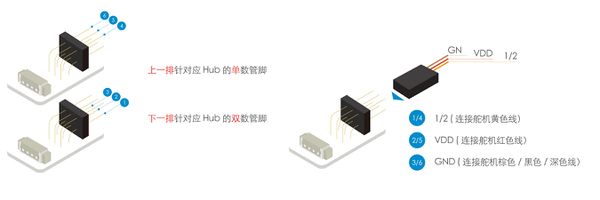
- 舵机没法直接和扩展模块(Hub)连接,需要借助舵机转接板。舵机转接板上下各有3个插针,可以同时转接两个舵机。
- 舵机线序为 信号线(黄色),电源线(红色),地线(棕色/深色线)
- 舵机接线方法如下图所示,舵机线头有金属露出的部分向上为正确接插方法。
- 图中连接SensorHub的D8/D9接口
文件:舵机板接线.jpg
图中两组排针,上排对应D9,下排对应D8
语法手册
- 将舵机转接板使用杜邦线接在D8/D9接口
- 将舵机接在下三根排针上,并注意接线方向为金属口向上,此时控制端口为D9
- 该例程的现象为舵机往复缓慢运动
#include <Servo.h>

Servo myservo;  // create servo object to control a servo

#define servoPin  9
int pos = 0;    // variable to store the servo position

void setup()
{
  myservo.attach(servoPin);  // attaches the servo on pin 9 to the servo object
}

void loop()
{
  for (pos = 0; pos < 180; pos += 1) // goes from 0 degrees to 180 degrees
  { // in steps of 1 degree
    myservo.write(pos);              // tell servo to go to position in variable 'pos'
    delay(15);                       // waits 15ms for the servo to reach the position
  }
  for (pos = 180; pos >= 1; pos -= 1) // goes from 180 degrees to 0 degrees
  {
    myservo.write(pos);              // tell servo to go to position in variable 'pos'
    delay(15);                       // waits 15ms for the servo to reach the position
  }
}
示例教程
Q&A
- 如果我手中的舵机转接板与上面图中的不太一样怎么办?我的接线方式是否要改变?
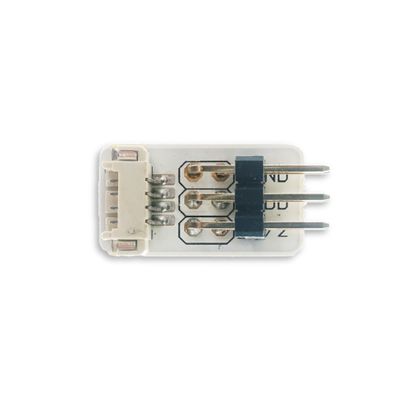
- 如果拿到的舵机转接板的传感器线连接座是立式的,则为上一版舵机转接器。旧版转接器接线如下图所示。
舵机金属露出部分朝下为正确接插方向,并且上方排针对应偶数接口,下方排针对应奇数接口。
文件:旧版舵机转接连线图.jpg
图中所接为D9接口
历史
图库
