“Microduino-Shield Cube-S1/zh”的版本间的差异
(→规格) |
(→规格) |
||
| 第26行: | 第26行: | ||
[[file:Microduino-Cube-S1-Pinout1Big.jpg|800px|thumb|center|Microduino-Cube-S1]] | [[file:Microduino-Cube-S1-Pinout1Big.jpg|800px|thumb|center|Microduino-Cube-S1]] | ||
| − | [[file:Microduino-Cube-S1- | + | [[file:Microduino-Cube-S1-Pinout2Big.jpg|800px|thumb|center|Microduino-Cube-S1-Pinout]] |
[[file:Microduino-Cube-S1-Pinout3.jpg|800px|thumb|center|Microduino-Cube-S1-Pinout]] | [[file:Microduino-Cube-S1-Pinout3.jpg|800px|thumb|center|Microduino-Cube-S1-Pinout]] | ||
2014年10月23日 (四) 05:34的版本
| Language | English |
|---|
特色
规格
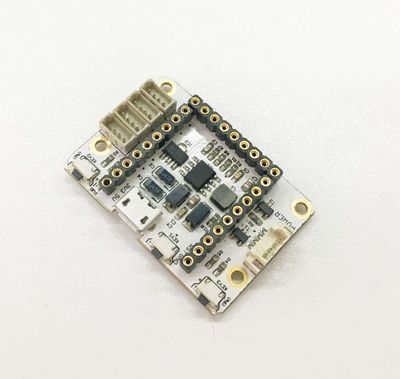
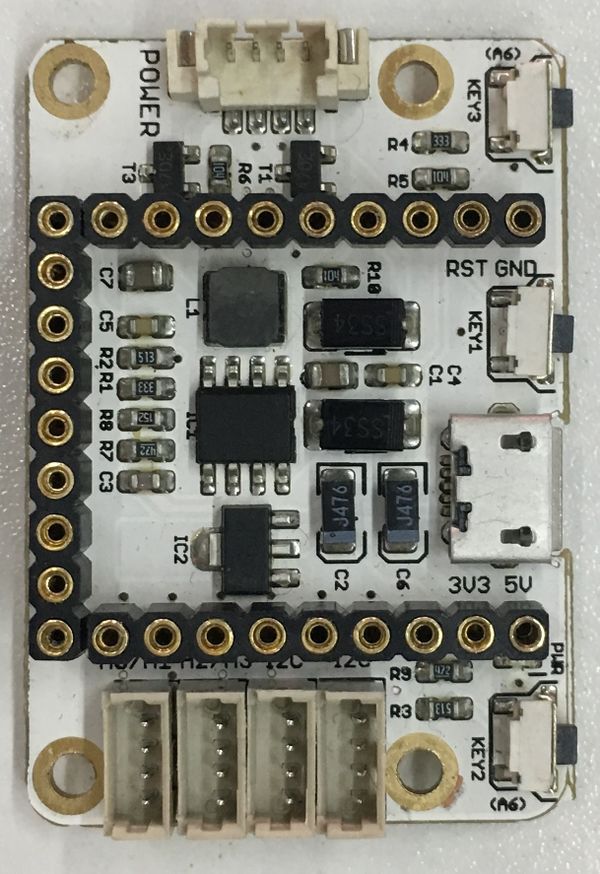
文件:Microduino-Cube-S1-Pinout1Big.jpg Microduino-Cube-S1 文件:Microduino-Cube-S1-Pinout2Big.jpg Microduino-Cube-S1-Pinout 文件:Microduino-Cube-S1-Pinout3.jpg Microduino-Cube-S1-Pinout 文档Eagle PCB :文件:Microduino-Cube-S1.zip 主要元器件:
开发与其他符合 Microduino 接口规范的模块、传感器进行快速的连接和扩展实现特定功能。 应用
https://github.com/Microduino/Microduino_Tutorials/commit/b0e0fe74269ee0f6a886d8fa8db497ec57cc4073
其它应用: Microduino 传感器教程 购买
|
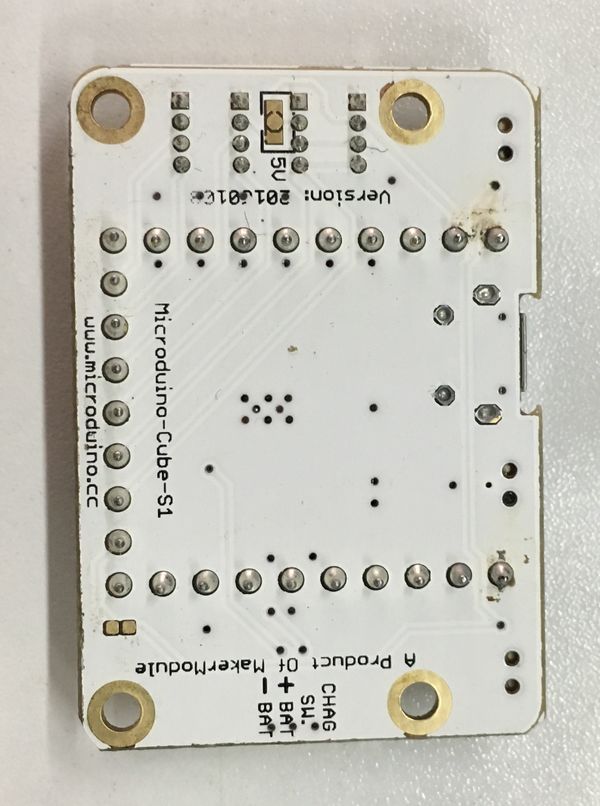
历史图库正面背面视频 |


