“点亮led灯”的版本间的差异
(→程序) |
(→调试) |
||
| 第35行: | 第35行: | ||
==调试== | ==调试== | ||
| − | + | 步骤一:按着原理图搭建硬件环境,像这样: | |
| + | [[File:processingControlLED连接图.jpg|600px|center|thumb]] | ||
| + | |||
| + | |||
| + | |||
| + | 步骤二:解释一下代码: | ||
// Declaring two variable of type PImage, a class available to us from the Processing core library. | // Declaring two variable of type PImage, a class available to us from the Processing core library. | ||
| 第65行: | 第70行: | ||
} | } | ||
| − | |||
| − | |||
| − | |||
| 第74行: | 第76行: | ||
步骤四:运行后鼠标滑过灯泡上方或者点击灯泡,看看有什么反应。 | 步骤四:运行后鼠标滑过灯泡上方或者点击灯泡,看看有什么反应。 | ||
| − | |||
==结果== | ==结果== | ||
2014年5月5日 (一) 08:42的版本
点亮LED灯
目的本教程将教大家如何用Processing来点亮LED灯。 设备
原理图
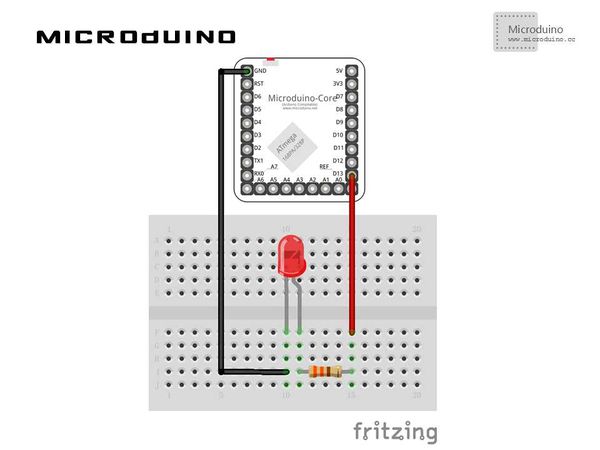
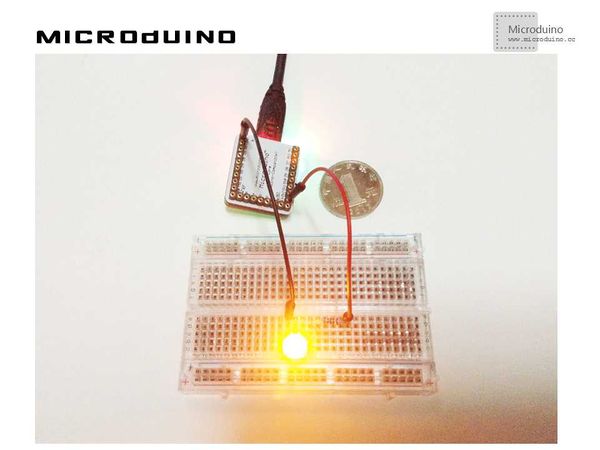
程序见 LEDButtonByOver LEDButtonByClick 注意:代码里包含图片请不要丢掉 调试步骤一:按着原理图搭建硬件环境,像这样:
步骤二:解释一下代码: // Declaring two variable of type PImage, a class available to us from the Processing core library. PImage LEDON, LEDOFF; //load two img
LEDON = loadImage("LEDON.png");
LEDOFF = loadImage("LEDOFF.png");
Mouse over: // When the mouse is moved, the state of the button is toggled.
void mouseMoved() {
if (mouseX > x && mouseX < x+w && mouseY > y && mouseY < y+h) {
button = true;
}
else {
button = false;
}
}
Mouse Click: // When the mouse is pressed, the state of the button is toggled.
void mousePressed() {
if (mouseX > x && mouseX < x+w && mouseY > y && mouseY < y+h) {
button = !button;
}
}
步骤三:下载代码并编译通过。
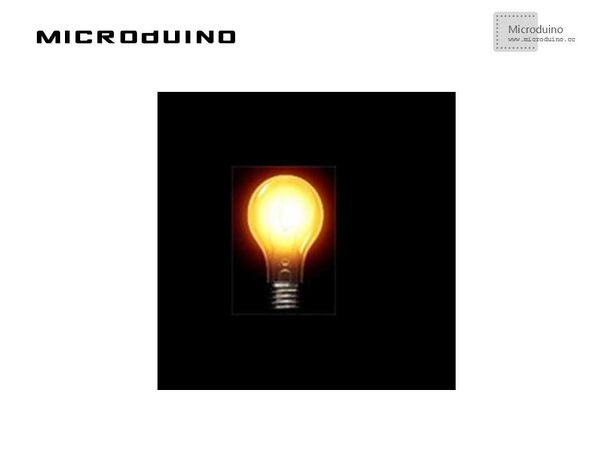
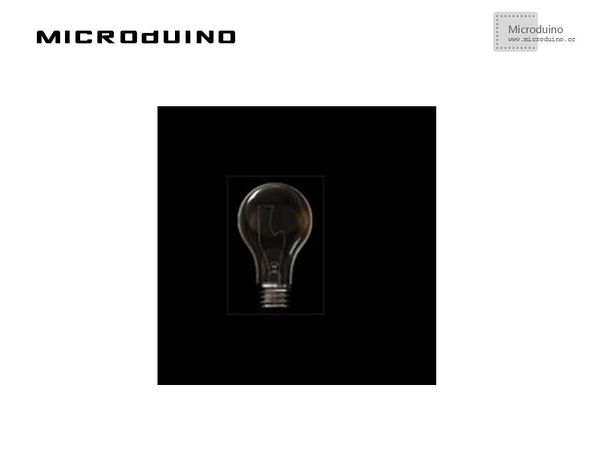
结果鼠标滑过灯泡上方,灯泡会亮起,离开会熄灭,Processing的动画效果是这样的: 鼠标滑过或点击灯泡: 鼠标离开或点击灯泡: 视频 |


