“Microduino ENC Network (1)”的版本间的差异
(Created page with "{{Language | Microduino ENC网络(一)}} {| style="width: 800px;" |- | ==Objective== This tutorial will show you how to ping the Microduino. ==Equipment== *'''Microduin...") |
小 (A misspelled word - represents was spelled rappresents) |
||
| 第55行: | 第55行: | ||
Before connecting Ethernet shield to the net, you need some parameters: | Before connecting Ethernet shield to the net, you need some parameters: | ||
| − | *MAC address, is a 48bit number that univocally identify each device in the net. Every company that produces network devices owns a code (OUI) that | + | *MAC address, is a 48bit number that univocally identify each device in the net. Every company that produces network devices owns a code (OUI) that represents the address’ first 24bits; |
*IP address, is a 32bit number (IPv4) that identify the device in the local network; | *IP address, is a 32bit number (IPv4) that identify the device in the local network; | ||
*Subnet mask is a 32bit number that allows devices to know if another device belongs to the same local network; | *Subnet mask is a 32bit number that allows devices to know if another device belongs to the same local network; | ||
2014年7月6日 (日) 06:11的版本
| Language | English |
|---|
ObjectiveThis tutorial will show you how to ping the Microduino. Equipment
Schematic
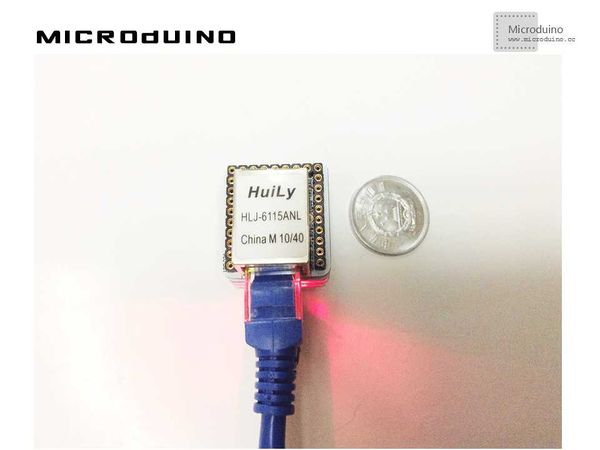
Stack all modules and then connect the ethernet cable, as follows:
ProgramDownload the program: https://github.com/Microduino/Microduino_Tutorials/tree/master/Microduino_ENC/ENCnetworkone DebugStep 1:Download the EtherCard library and copy to your libraries fold of IDE, then restart IDE. https://github.com/jcw/ethercard Step 2:Before connect to network, you need learn some network parameter. Network parameter: Before connecting Ethernet shield to the net, you need some parameters:
You need to choose a MAC address not alredy used in your network… in the examples we usually choose MAC addresses with a not already assigned organization code (es. DD-DD-DD). IP parameters (address, subnet, gateway) have to be consistent with the ones configured to other devices in your local network: an unique IP address and the same subnet mask and gateway. Sometimes a DHCP server is available, that automatically configures new devices in the network: in a next example I’m going to show how to use this with Arduino. Step 3:Explain the program. //First you need to include the EtherCard library and define some variables: MAC address, IP address and a buffer the library will use to store incoming and outgoing data; include <EtherCard.h>
static byte mymac[] = {0x74,0x69,0x69,0x2D,0x30,0x31};
static byte myip[] = {192,168,1,10};
byte Ethernet::buffer[700];
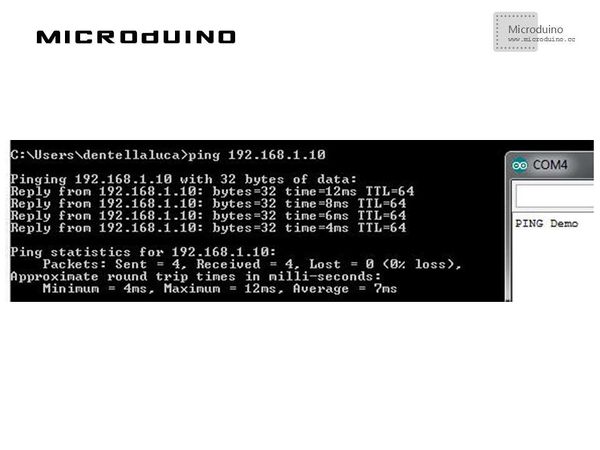
ether.staticSetup(myip); //complete configuration with a static configuration for the IP address. Use the function staticSetup() method to configure the static IP, it has three parameters, that are ip address, gateway and DNS. IP is mandatory, others are optional. The following is the defination. static bool staticSetup (const uint8_t* my_ip =0, const uint8_t* gw_ip =0, const uint8_t* dns_ip =0); //in the loop, you need only 2 instructions: //packetReceive()method receives a new incoming packet from the network; //packetLoop() method answers to specific incoming messages, including the “ping” ones (ICMP echo request) ether.packetLoop(ether.packetReceive());
Step 5:ping! Check a device if has online, the "ping" command is a simple method. Ping the destination device's IP. ResultThe upper picture indicates that the device has obeen online. Video |

