“Lesson 14--Microduino "A simple thermometer"”的版本间的差异
Jasonsheng(讨论 | 贡献) |
小 (photo added) |
||
| (未显示1个用户的3个中间版本) | |||
| 第1行: | 第1行: | ||
| + | {{Language|第十四课--Microduino_简单温度计}} | ||
{| style="width: 800px;" | {| style="width: 800px;" | ||
|- | |- | ||
| 第43行: | 第44行: | ||
==Result== | ==Result== | ||
After download, you can see the temperature data from serial monitor, refreshed every 1s. | After download, you can see the temperature data from serial monitor, refreshed every 1s. | ||
| + | |||
| + | [[File:Lesson14.jpg|600px|thumbnail|center]] | ||
| + | |||
==Video== | ==Video== | ||
|} | |} | ||
| + | |||
| + | https://www.youtube.com/watch?v=Yo3pF0iPbWk | ||
2015年7月3日 (五) 07:45的最新版本
| Language | English |
|---|
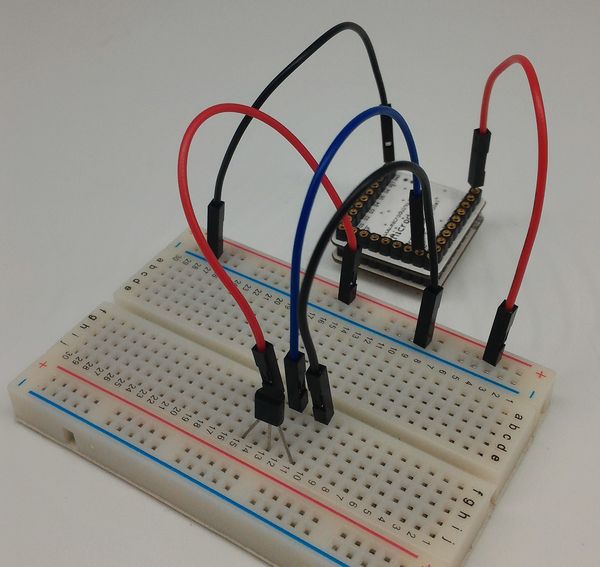
目录ObjectiveThis lesson will introduce the temperature sensor, combined with Microduino to be a simple thermometer. Digital temperature sensors have a common DS18b20, DHT11, SHT10 and so one. Analog temperature sensor has thermistor, AD590, LM35D so on. Equipment
LM35 temperature sensorThis sensor can measure of 0-100 degrees Celsius temperature, and output the value of voltage. Starting from 0 degrees temperature rise per 1 degree output voltage will increase 10 mv, so that we can use the analog port to detection sensor voltage, after simple to calculate the measured temperature value. LM35 connection文件:Lesson14-LM35.jpg 600px Experimental schematicThe connection is very easy,just pay attention to the positive and negative。 Programvoid setup() {
Serial.begin(115200); //Set teh baud rate to 115200
}
void loop() {
int n = analogRead(A0); //Read the voltage from A0
float vol = n * (5.0 / 1023.0*100); //Use a float variable to save temperature value which was calculated from voltage.
Serial.println(vol); //Output the temperature from serial
delay(1000); //Wait for 1s for refresh
}
ResultAfter download, you can see the temperature data from serial monitor, refreshed every 1s. Video |
