“Microduino ENC网络(十)——如何改变Web服务器侦听的端口/zh”的版本间的差异
(→程序) |
(→原理图) |
||
| (未显示2个用户的4个中间版本) | |||
| 第1行: | 第1行: | ||
| + | {{Language | Microduino_ENC_Network_(10)——How to Change the Listening Port of the Web Server}} | ||
{| style="width: 800px;" | {| style="width: 800px;" | ||
|- | |- | ||
| 第9行: | 第10行: | ||
==设备== | ==设备== | ||
| − | *'''[[Microduino-Core]]''' | + | *'''[[Microduino-Core/zh]]''' |
| − | *'''[[Microduino- | + | *'''[[Microduino-USBTTL/zh]]''' |
| − | *'''[[Microduino-ENC28J60]]''' | + | *'''[[Microduino-ENC28J60/zh]]''' |
| − | *'''[[Microduino-RJ45]]''' | + | *'''[[Microduino-RJ45/zh]]''' |
*其他硬件设备 | *其他硬件设备 | ||
| − | **USB数据连接线 一根 | + | **USB数据连接线 一根 |
==原理图== | ==原理图== | ||
| 第22行: | 第23行: | ||
*Microduino-RJ45 | *Microduino-RJ45 | ||
*Microduino-Core | *Microduino-Core | ||
| − | *Microduino- | + | *Microduino-USBTTL |
层层堆叠,再插上网线。 | 层层堆叠,再插上网线。 | ||
| 第28行: | 第29行: | ||
[[File:MicroduinoENCShow.jpg|600px|center|thumb]] | [[File:MicroduinoENCShow.jpg|600px|center|thumb]] | ||
| − | |||
==程序== | ==程序== | ||
| 第35行: | 第35行: | ||
ether.hisport=90; | ether.hisport=90; | ||
| + | |||
| + | 你可以用ENC网络(七)的程序来做这个实验。 | ||
如下图: | 如下图: | ||
| 第53行: | 第55行: | ||
你的Microduino WEB服务器的侦听端口就变成了90了。 | 你的Microduino WEB服务器的侦听端口就变成了90了。 | ||
| + | |||
| + | [[File:changePortTo90.jpg|600px|center|thumb]] | ||
==视频== | ==视频== | ||
2015年1月27日 (二) 12:38的最新版本
| Language | English |
|---|
目的本教程比较容易,只做一行代码的修改。 将教大家如何改变Microduino作为web服务的侦听端口。 设备
原理图
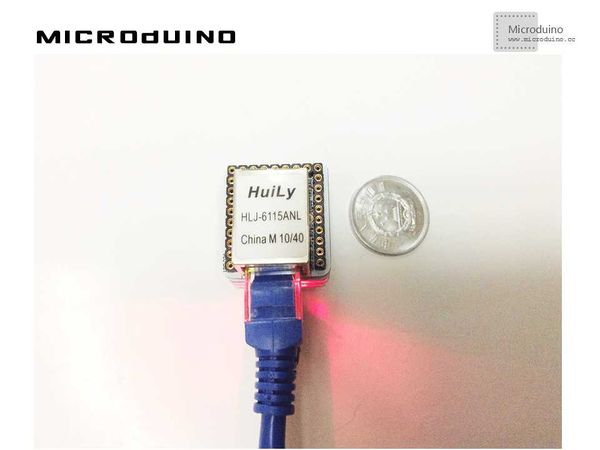
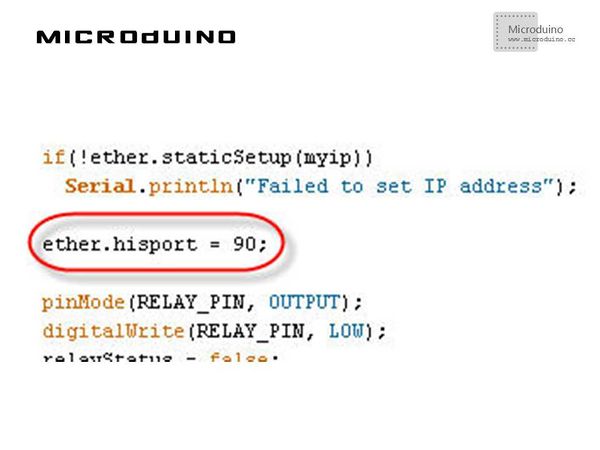
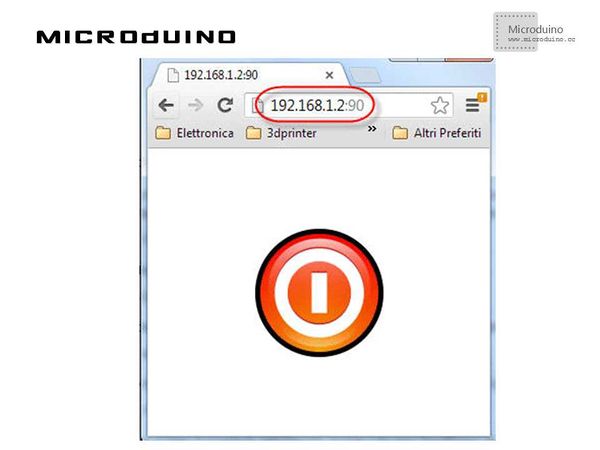
层层堆叠,再插上网线。 如下图所示: 程序更改是很容易的:你只需要设置hisport变量的值: ether.hisport=90; 你可以用ENC网络(七)的程序来做这个实验。 如下图: 调试步骤一:首先需要下载EtherCard库:https://github.com/jcw/ethercard 放到你的IDE的libraries文件夹中,重启IDE。 步骤二:下载代码并编译通过。 步骤三:访问Microduino的IP地址,端口为:90;
结果你的Microduino WEB服务器的侦听端口就变成了90了。 视频 |


