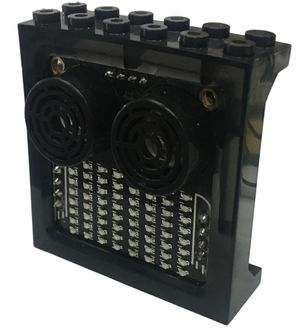
“Sensor-Ultrasonic+”的版本间的差异
502748957@qq.com(讨论 | 贡献) |
|||
| (未显示同一用户的1个中间版本) | |||
| 第1行: | 第1行: | ||
{| style="width: 800px;" | {| style="width: 800px;" | ||
|- | |- | ||
| − | |[[File: | + | |[[File: Ultrasonic+show.jpg|300px|left| Sensor-Ultrasonic+]] || |
::<p style="color: #000000;font-size:200%"><br><br><br><br><br>'''Sensor-Ultrasonic+'''</p> | ::<p style="color: #000000;font-size:200%"><br><br><br><br><br>'''Sensor-Ultrasonic+'''</p> | ||
::产品编号:'''<big style="color: #00A0A6">xxxxxx</big>''' | ::产品编号:'''<big style="color: #00A0A6">xxxxxx</big>''' | ||
| 第49行: | 第49行: | ||
*PIN4:SCL | *PIN4:SCL | ||
|width="35%" valign="top" align="center"| | |width="35%" valign="top" align="center"| | ||
| − | [[file: . | + | [[file:MicroMVIIC.png|240px|center]] |
|width="25%" valign="top" align="center"| | |width="25%" valign="top" align="center"| | ||
|} | |} | ||
| 第88行: | 第88行: | ||
<p style="color: #333333;font-size:135%">'''图库'''</p> | <p style="color: #333333;font-size:135%">'''图库'''</p> | ||
| + | {| border="0" cellpadding="10" width="100%" | ||
| + | |- | ||
| + | |width="50%" valign="top" align="left"| | ||
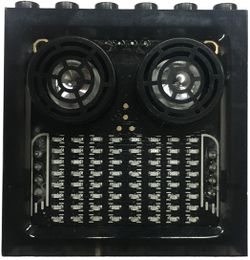
| + | [[file: Ultrasonic+Top.jpg|250px|center]] | ||
| + | |width="50%" valign="top" align="left"| | ||
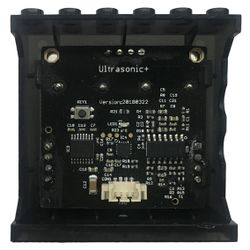
| + | [[file: Ultrasonic+BUT.jpg|250px|center]] | ||
| + | |} | ||
|} | |} | ||
2018年12月14日 (五) 05:17的最新版本
| |
|
技术规格
引脚
编程手册 您可以通过【Getting Started】了解使用Arduino IDE编程控制模块。
示例教程
Q&A Q:超声波背面的KEY1按键是什么作用? A:这个按键用户一般情况下是不需要使用的,如果遇到测得的超声波距离值杂乱,或最小距离值不小于250mm,可以尝试通过这个按键来校正。
具体校正方法如下: A:显示的数字含义是点阵的IIC地址,十进制数:48
图库 |


