体感互动-电位器
| Language | English |
|---|
目的本教程将教大家如何用电位器来控制Processing,让屏幕上的笑脸左右移动。 设备
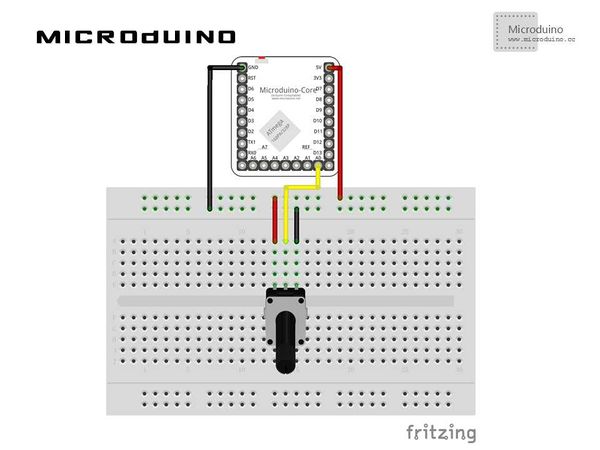
原理图
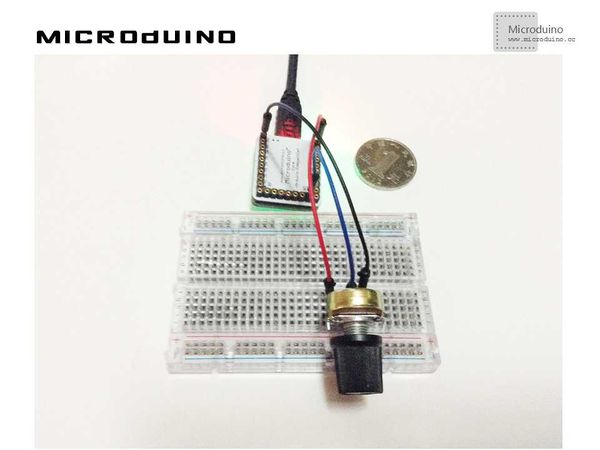
程序调试步骤一:按着原理图搭建硬件环境,像这样:
//读取电位器模拟值,并把值赋给笑脸的x轴坐标值 void draw() {
sensorValue = arduino.analogRead(potPin); //Reading the value of the potentiometer
background(255);
image(face,sensorValue,80);
}
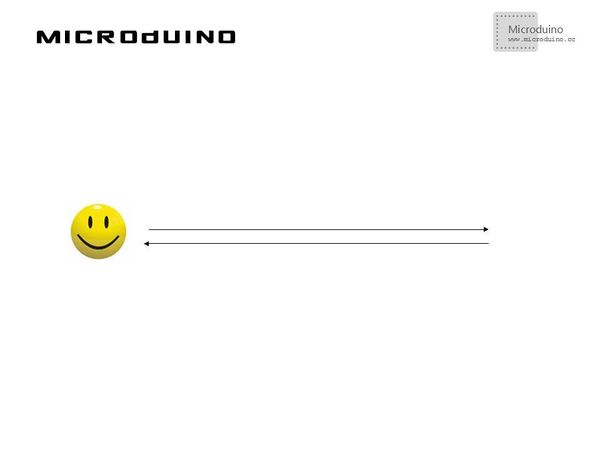
步骤三:下载代码并编译通过。 步骤四:运行后会在左侧出现一个笑脸,转动电位器看看笑脸有什么反应。 结果屏幕上的笑脸会随着电位器左右移动,像这样:
视频 |


