Lighten Led
| Language | English |
|---|
ObjectiveThis tutorial will teach you how to use the Processing to light LED. Equipment
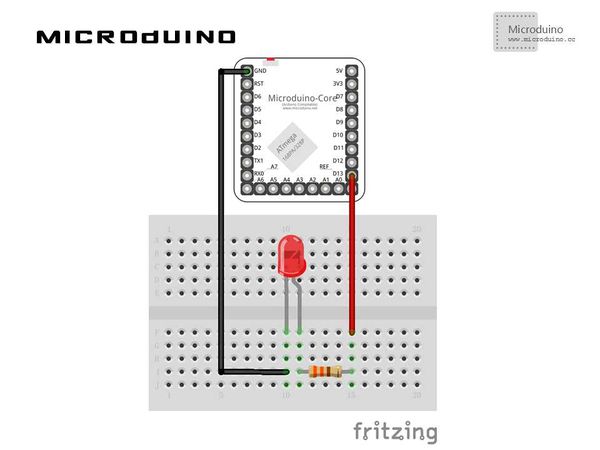
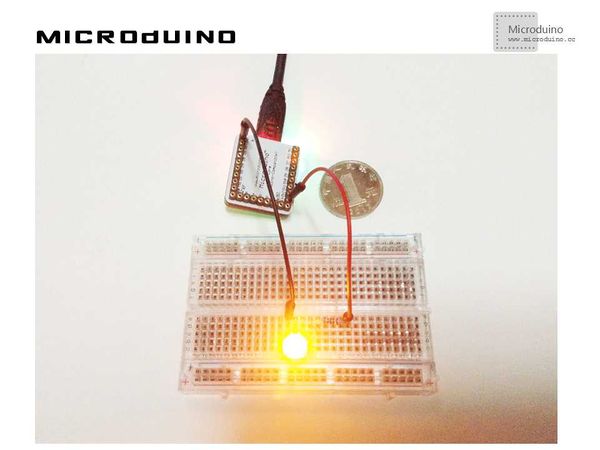
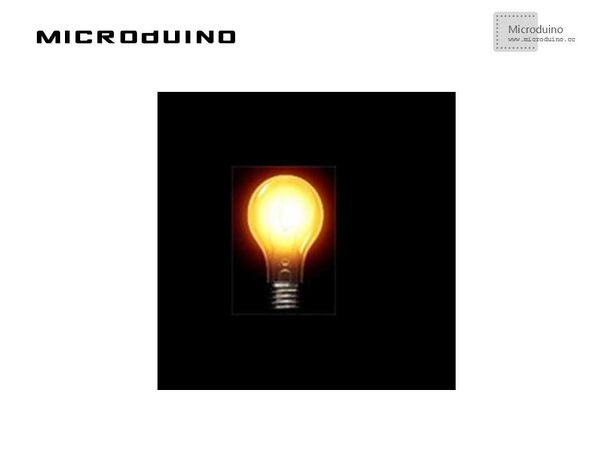
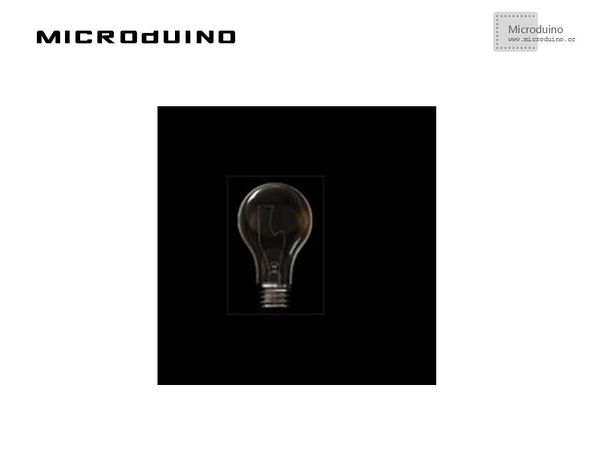
SchematicProgramhttps://github.com/Microduino/Microduino_Tutorials/tree/master/Microduino_Processing/LEDButtonByOver Note:Don't drop the picture in program DebutStep 1:Set up hardware system, as follows: Step 2:Explain the code: // Declaring two variable of type PImage, a class available to us from the Processing core library. PImage LEDON, LEDOFF; //load two img LEDON = loadImage("LEDON.png"); LEDOFF = loadImage("LEDOFF.png"); Mouse movement will light the LED which was realized in LEDButtonByOver. Mouse over: // When the mouse is moved, the state of the button is toggled.
void mouseMoved() {
if (mouseX > x && mouseX < x+w && mouseY > y && mouseY < y+h) {
button = true;
}
else {
button = false;
}
}
Mouse click will light the LED which was realized in LEDButtonByClick. Mouse Click: // When the mouse is pressed, the state of the button is toggled.
void mousePressed() {
if (mouseX > x && mouseX < x+w && mouseY > y && mouseY < y+h) {
button = !button;
}
}
Step 3:Compile the code and download it.
ResultMouse move on the LED, it will light, and trun off when leave it. Processing'S animation effects: Video |


