舵机控制
| Language | English |
|---|
目的本教程将教大家如何用processing控制舵机旋转。 设备
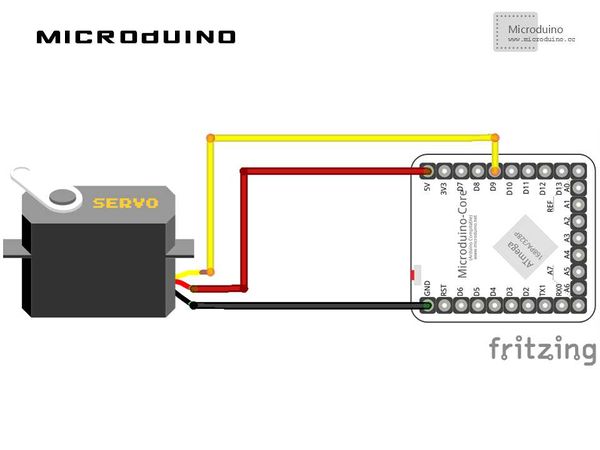
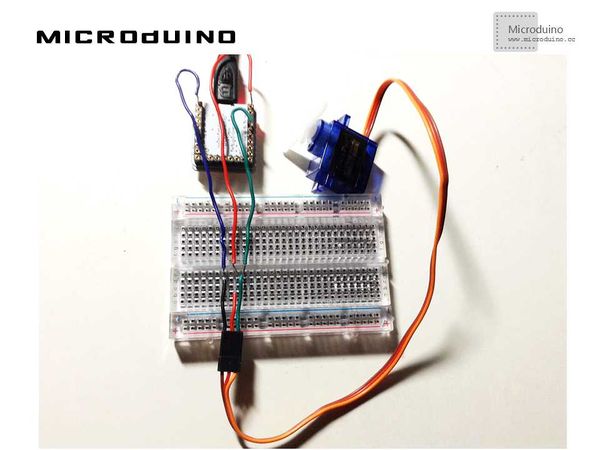
原理图程序调试步骤一:按着原理图搭建硬件环境,像这样:
本例需要两端的代码,Processing端和Microduino端 Microduino: 使用firmata的StandardFirmata程序,因为其实现了舵机控制方法 Processing: //在setup中定义串口通讯和设置pinMode arduino = new Arduino(this, Arduino.list()[0], 57600); //your offset may vary arduino.pinMode(9, 5); //读取底部滑动条的值,来设置舵机的角度 void draw()
{
background(0);
noFill();
stroke(255);
smooth();
float angle=map(pos, 0, 600, 0, 360);
arc(width/2, height/2, 300, 300, turn, radians(angle)+turn);
//Specify font to be used
textFont(f, 48);
//Display Text
text ((int)angle, width/2-30, height/2+20);
arduino.analogWrite(9, (int)constrain(angle, 0, 180));
}
//滑动条移动事件处理 void slider(float posValue) {
pos=(int)posValue;
println("Servo pos:"+pos);
}
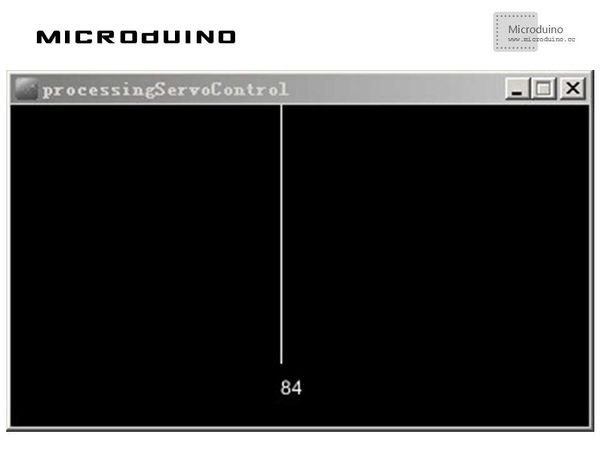
步骤三:下载代码并编译通过。 步骤四:运行后,左右移动底部滑动条,查看舵机有什么变化。 结果在processing中会显示圆环,随着底部滑动条的移动,舵机也相应的转动: 视频 |


