Microduino ENC Network (12)——Use NTP get Internet time
| Language | English |
|---|
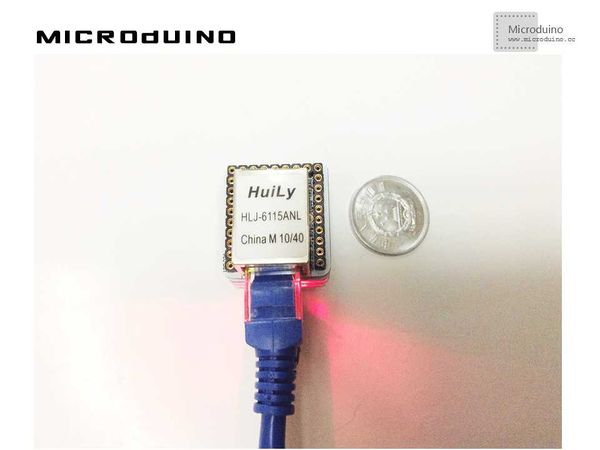
ObjectiveToday’s tutorial is about getting an accurate time via Internet, using the NTP (Network Time Protocol) service. Equipment
NTPNTP is a client-server protocol at application layer; it uses UDP port 123 as transport protocol. If you send a request to a NTP server, you receive in its response a 64bit value (timestamp) made by:
Schematic
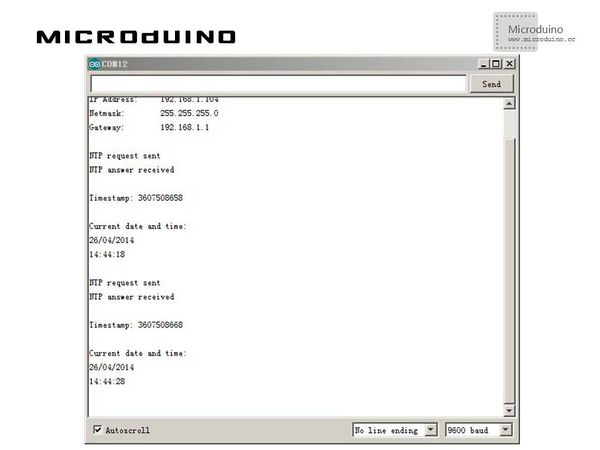
Stack all modules and then connect the ethernet cable, as follows: Programhttps://github.com/Microduino/Microduino_Tutorials/tree/master/Microduino_ENC/ENCnetworktwelve DebugStep 1:Download the EtherCard library and copy to your libraries fold of IDE, then restart IDE. https://github.com/jcw/ethercard Step 2:Explain the program: Many NTP servers are available on Internet: in the United States for example the NIST (National Institute of Standards and Technology) runs an entire network of severs. I live in Italy, so I chose as time server for this example the one run by the INRiM (Istituto Nazionale di Ricerca Metereologica): static byte ntpServer[] = {193,204,114,232};
The EtherCard library has two methods for NTP queries:
The srcPort parameter is used to find, among the many packets your Ethernet shield receives, the one that contains NTP server’s response: you can choose its value but it has to be the same both in the Request and in the ProcessAnswer. Got the timestamp value, you have to convert it in date-time format. The method is the following:
Just a few complications: Years could be leap years: for those you have to consider 366*86500 seconds instead of 365*86500. To check if actual year is a leap one, you can use the following method: boolean isLeapYear(unsigned int year) {
return (year % 4 == 0 && (year % 100 != 0 || year % 400 == 0));
}
The number of days in a month is variable: the value if saved in an array: static int days_in_month[] = {31, 28, 31, 30, 31, 30, 31, 31, 30, 31, 30, 31};
If we’re in a leap year, February has 29 days: if(isLeapYear(year) && month == 1) seconds = SECONDS_IN_DAY * 29; Finally, the timestamp value is referred to GMT, if you live in a different time zone, you have to adjust its value: #define TIME_ZONE +1 [...] printDate(timeStamp + 3600 * TIME_ZONE); Step 3:Download the code and compile it. Step 4: Open the serial to check the time. ResultSerial port will display the time: ExtentionIn order to observe the time easily, you can use the OLED to display the time. Video |


