“步进电机控制”的版本间的差异
(Created page with "{| style="width: 800px;" |- | ==目的== 本教程将教大家如何用processing来控制步进电机,向左转向右转。 ==设备== *'''Microduino-Core''' *'''Mi...") |
(→程序) |
||
| 第29行: | 第29行: | ||
==程序== | ==程序== | ||
| − | + | https://github.com/Microduino/Microduino_Tutorials/tree/master/Microduino_Processing/MicroduinoStepperControl | |
| − | ProcessingStepperControl | + | https://github.com/Microduino/Microduino_Tutorials/tree/master/Microduino_Processing/ProcessingStepperControl |
==调试== | ==调试== | ||
2014年6月3日 (二) 08:27的版本
目的本教程将教大家如何用processing来控制步进电机,向左转向右转。 设备
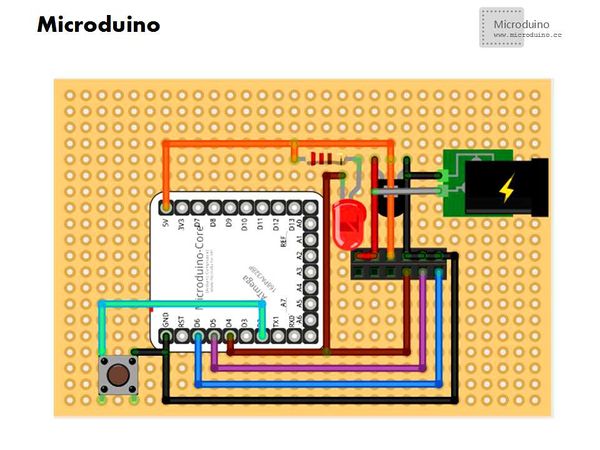
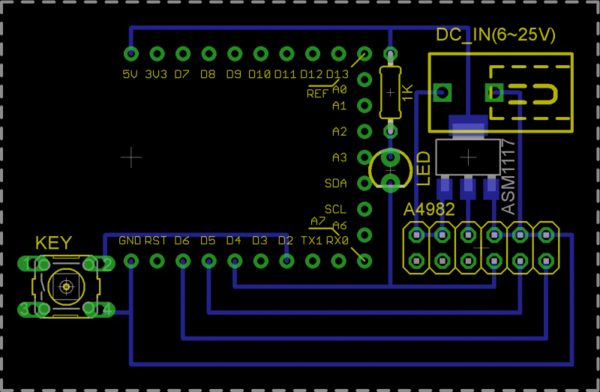
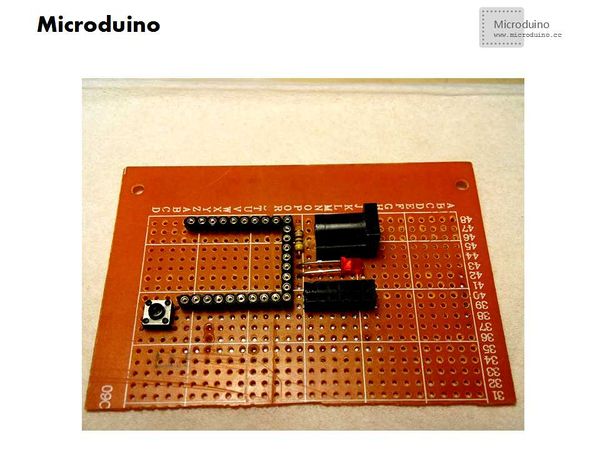
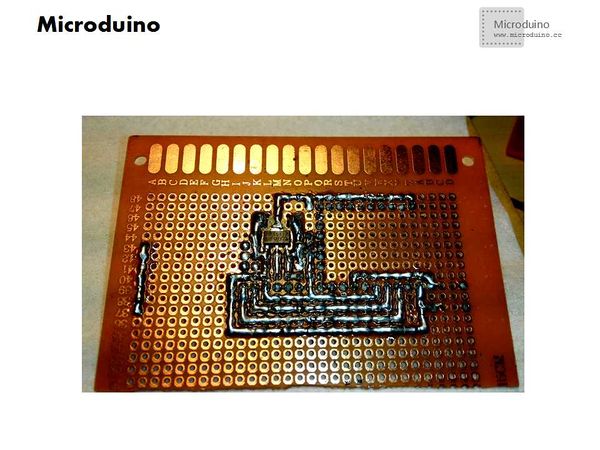
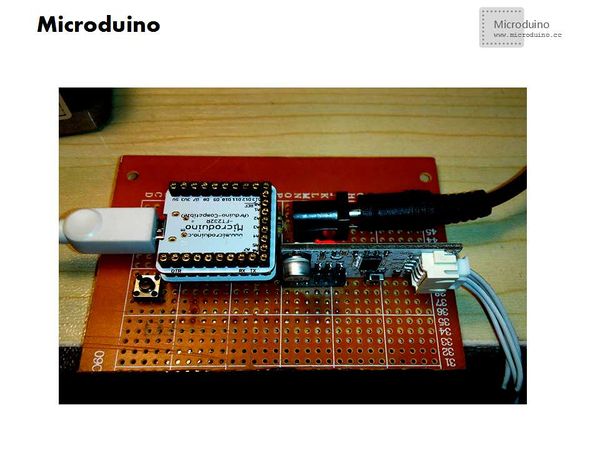
原理图程序调试硬件搭建部分与进阶教程第三十八课步进电机驱动类似: http://www.microduino.cc/wiki/index.php?title=%E7%AC%AC%E4%B8%89%E5%8D%81%E5%85%AB%E8%AF%BE--Microduino_%E6%AD%A5%E8%BF%9B%E7%94%B5%E6%9C%BA%E9%A9%B1%E5%8A%A8/zh
步骤三:解释一下代码: 本例需要两端的代码,Processing端和Microduino端 Microduino: //读取串口数据 void loop() {
if(Serial.available())
{
command=Serial.read();
Serial.println(command);
if(command=='l') {//如果processing端发来的数据是’l’,步进电机向左转
stepper.setSpeed(motorSpeed);
stepper.runSpeed();
}
else if(command=='r') {//如果processing端发来的数据是’r’,步进电机向右转
stepper.setSpeed(-motorSpeed);
stepper.runSpeed();
}
else {
stepper.stop();//否则停止转动
}
}
}
//在绘制函数中,做一下鼠标选择的相应。 void draw()
{
background(0);
image(img,0,0);
noFill();
if("left".equals(turning)) {
rect(30,80,150,210);
fill(0); //Specify font color
text ( "turn left" ,250,20);
port.write("l");
}else if("right".equals(turning)) {
rect(320,90,150,200);
fill(0); //Specify font color
text ( "turn right" ,250,20);
port.write("r");
}
}
//鼠标移动事件响应,判断鼠标是否在选择区内 // When the mouse is moved, the state of the turning is toggled.
void mouseMoved() {
if (mouseX > 30 && mouseX < 180 && mouseY > 80 && mouseY < 290) {
turning = "left";
cursor(HAND);
}
else if (mouseX > 320 && mouseX < 470 && mouseY > 90 && mouseY < 290) {
turning = "right";
cursor(HAND);
}
else {
turning = "turning";
cursor(ARROW);
}
}
步骤四:下载代码并编译通过。 步骤五:运行后,鼠标分别放到向左走的人和向右走的人,看看步进电机有啥反应。 结果鼠标放到向左走的人: 鼠标放到向右走的人: 步进电机会朝着相应的方向转动
视频 |
